Articles
Top repair and bridge restoration of mid-19th century Martin guitar
Bridge plate replacement, top and bridge repair on an 1840s Spanish style Martin
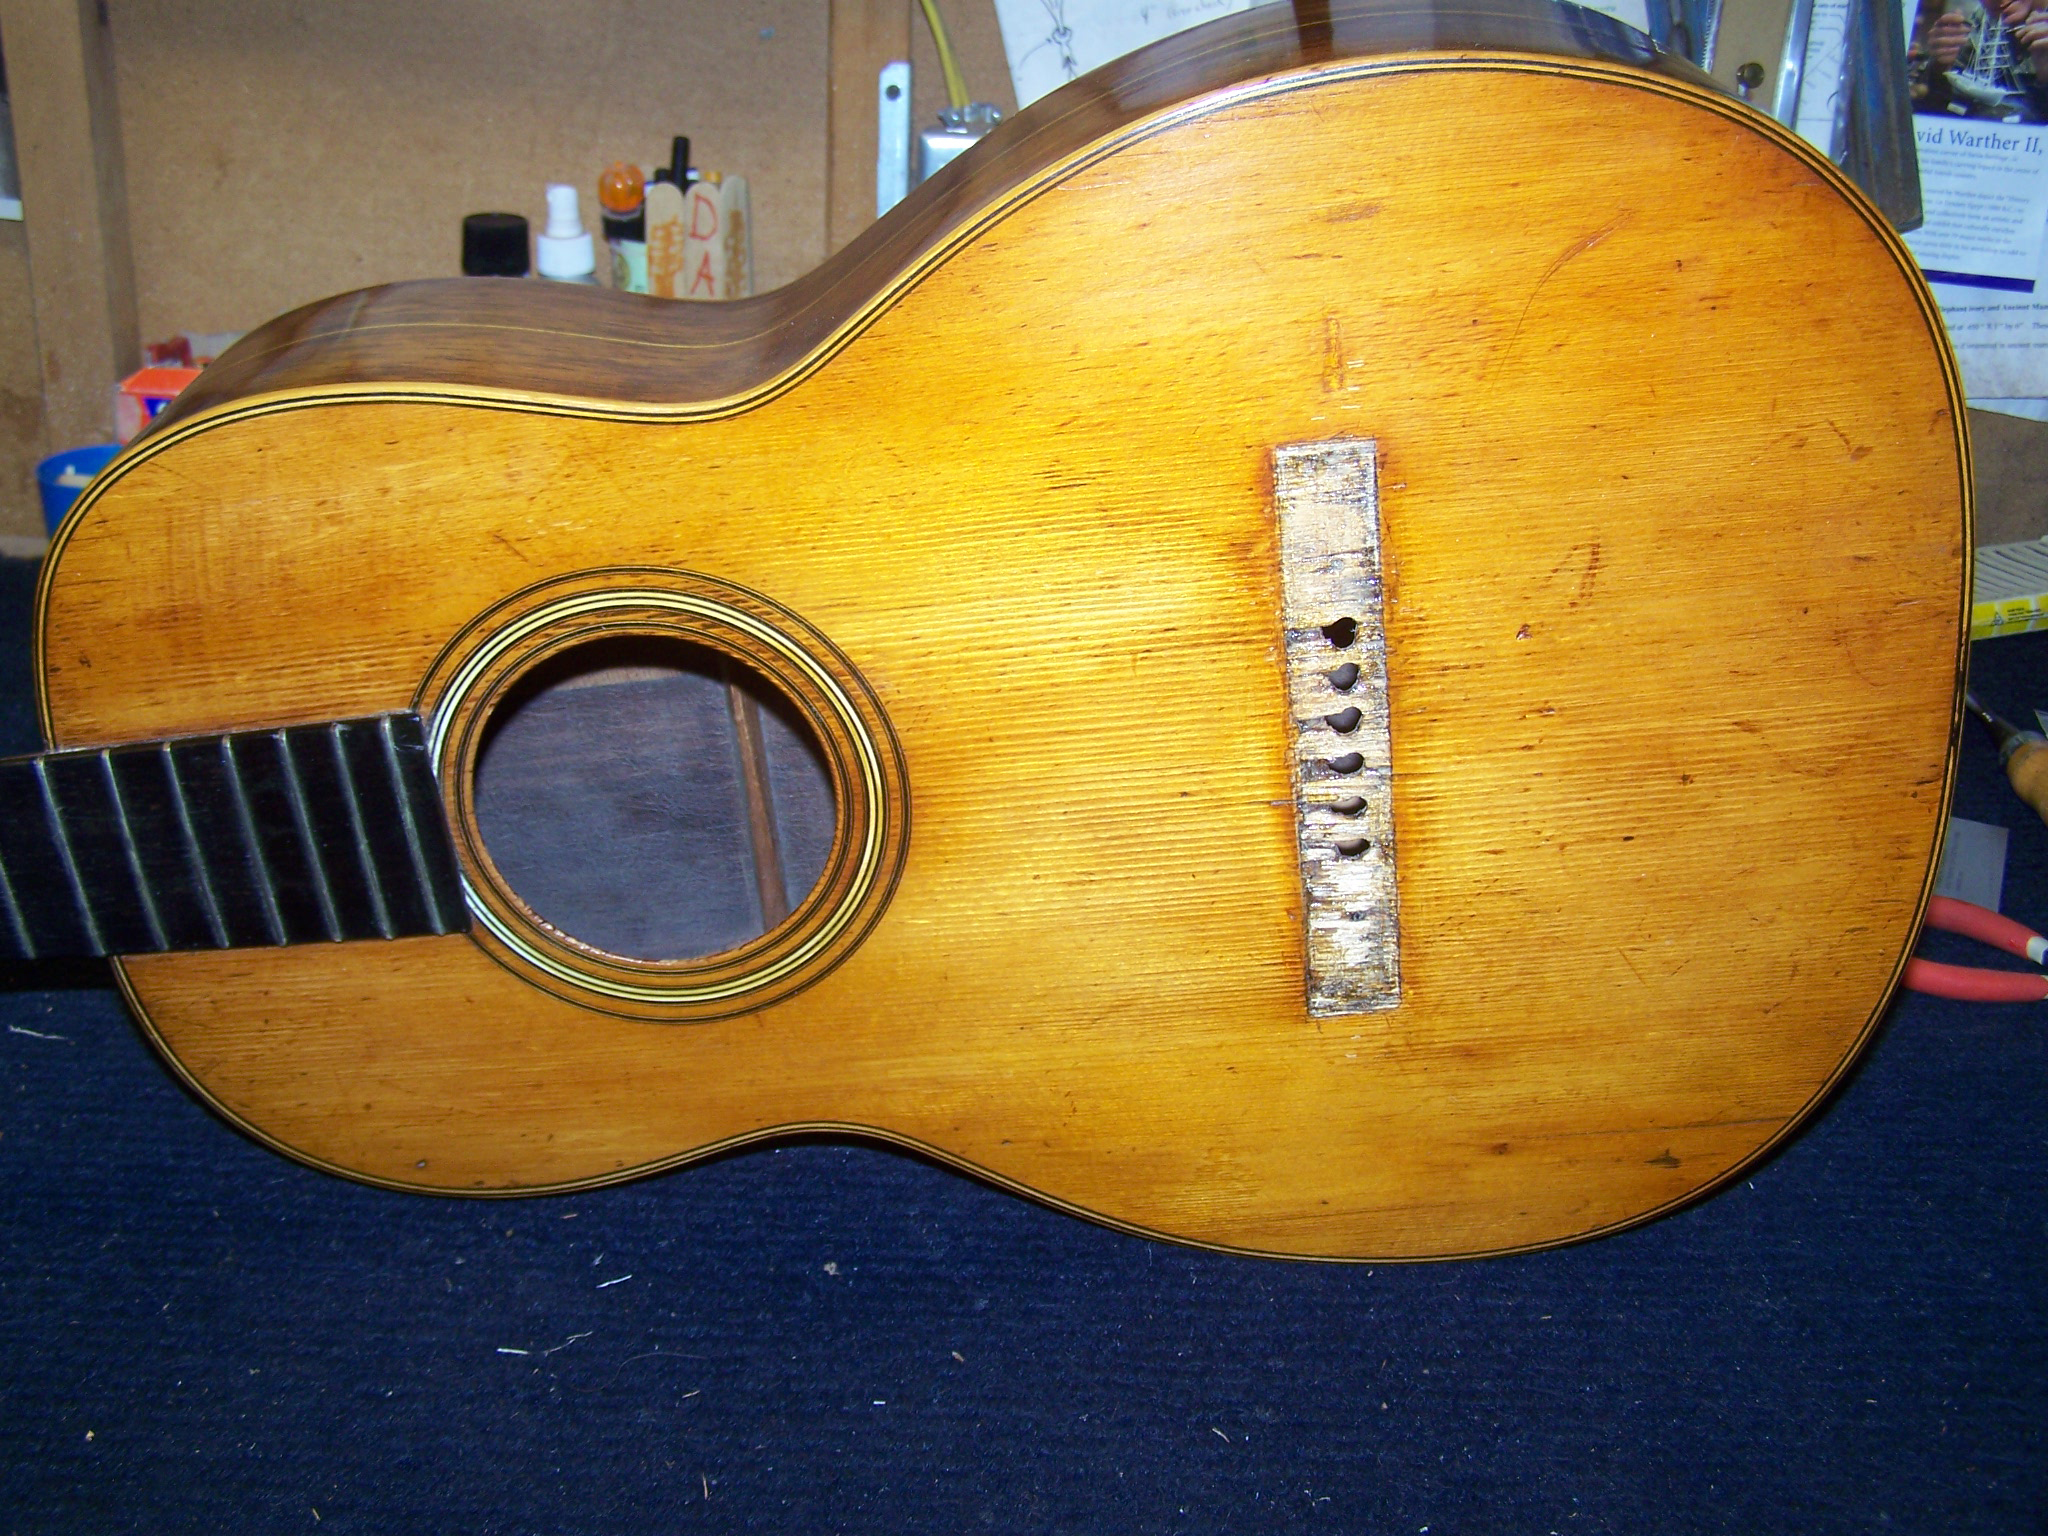
This guitar came into the shop for several repairs including bridge plate replacement, top repair and bridge repair. The bridge is original to the guitar but it had been on and off the guitar multiple times in the guitar’s life span and the top beneath the bridge was missing several chunks of spruce as well as the pin holes had enlarged and become out of round.
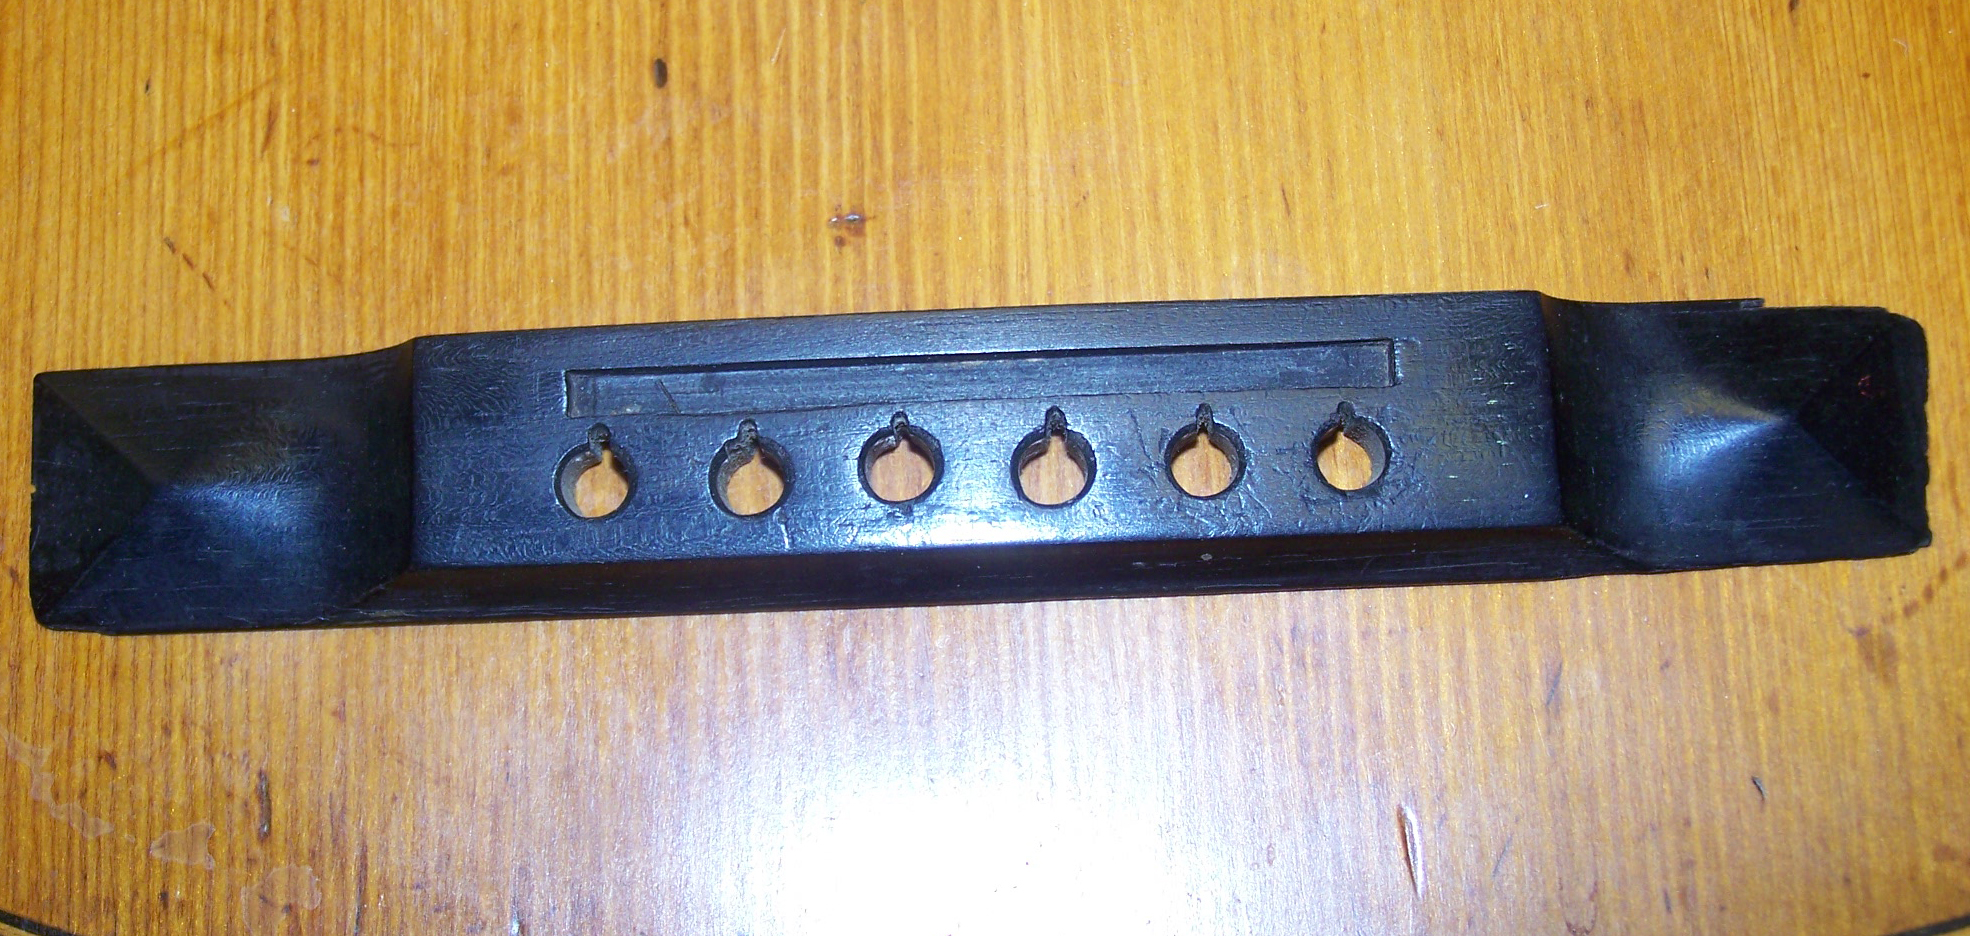
The bridge was cupped significantly as well and had been flattened several times from the bottom to remove the cupping, resulting in the ends being overly thinned and there was loss of length and corner definition due to trying to flatten the bottom by sanding. But enough of the original bridge was present, and in good enough condition, that it was judged desirable to try to salvage the original bridge to reinstall on this very early and cool Martin.
SPANISH FEATURES: Before proceeding to the repair, I thought it might be interesting to pointout some of the more unusual aspects of the design and construction of this particular guitar. Theinstrument has several features that reveal Spanish influence on Martin’s building during this period. 
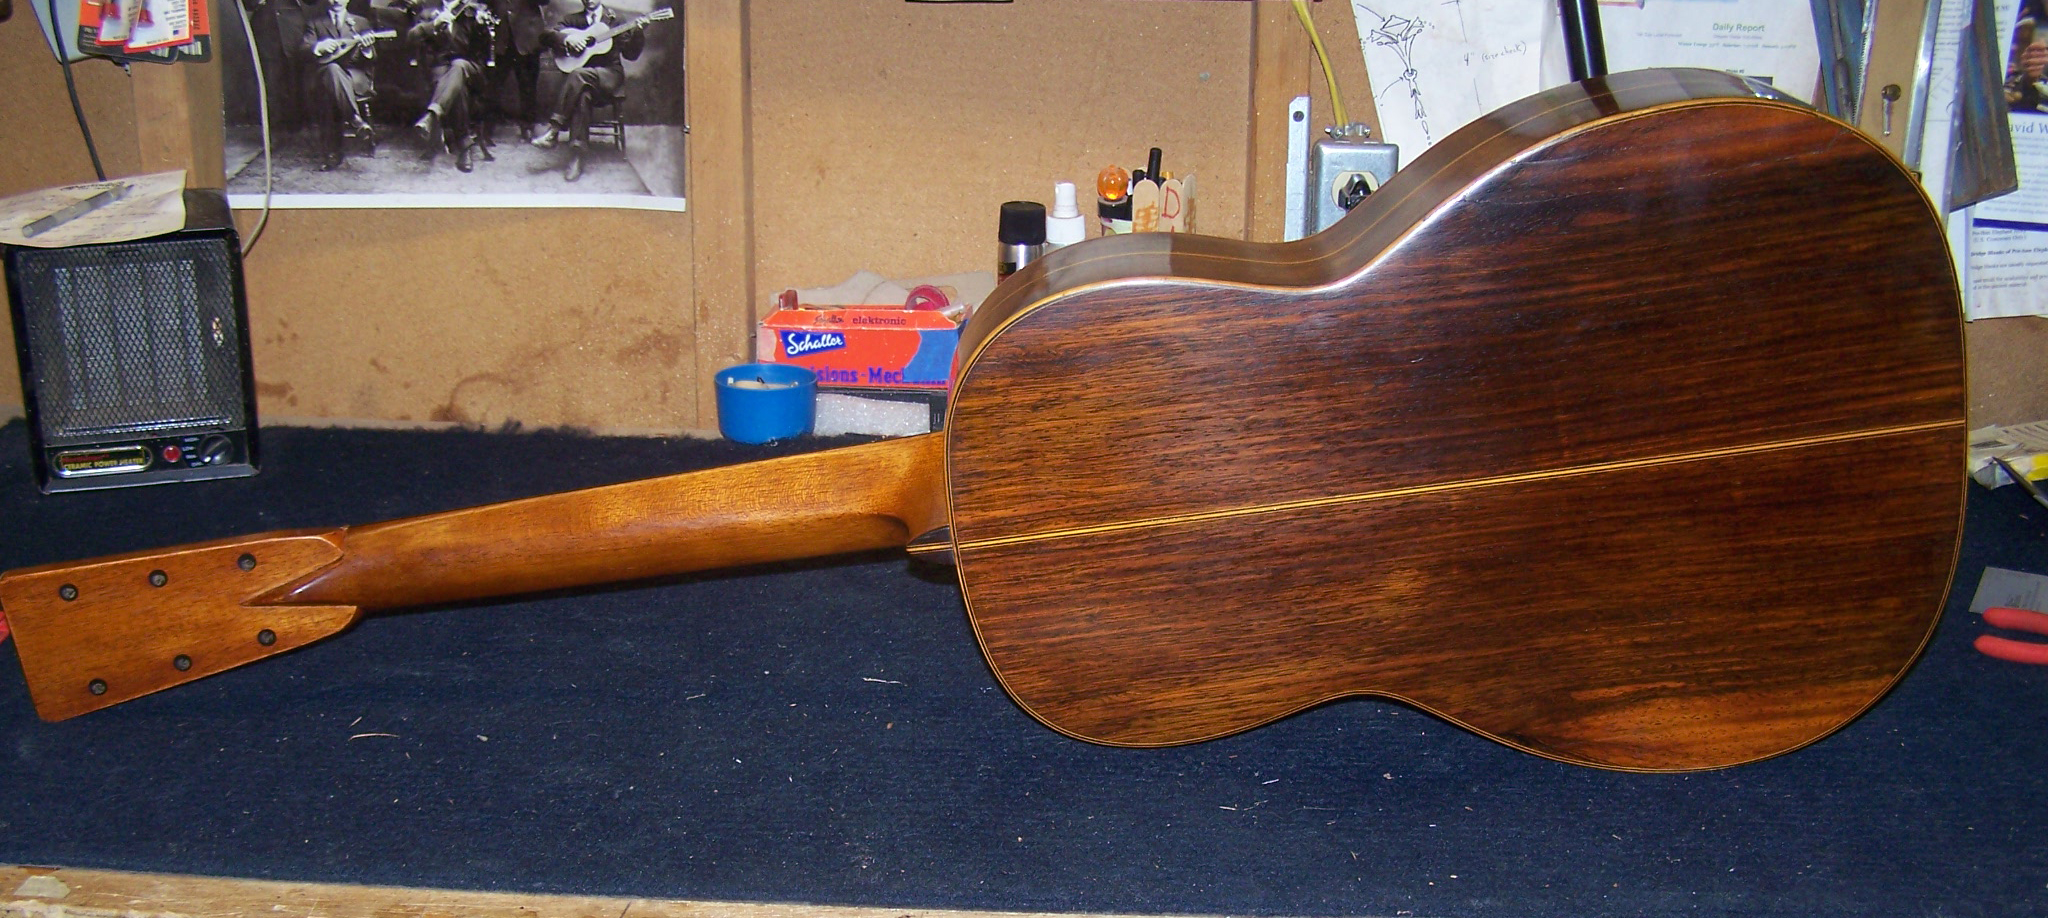

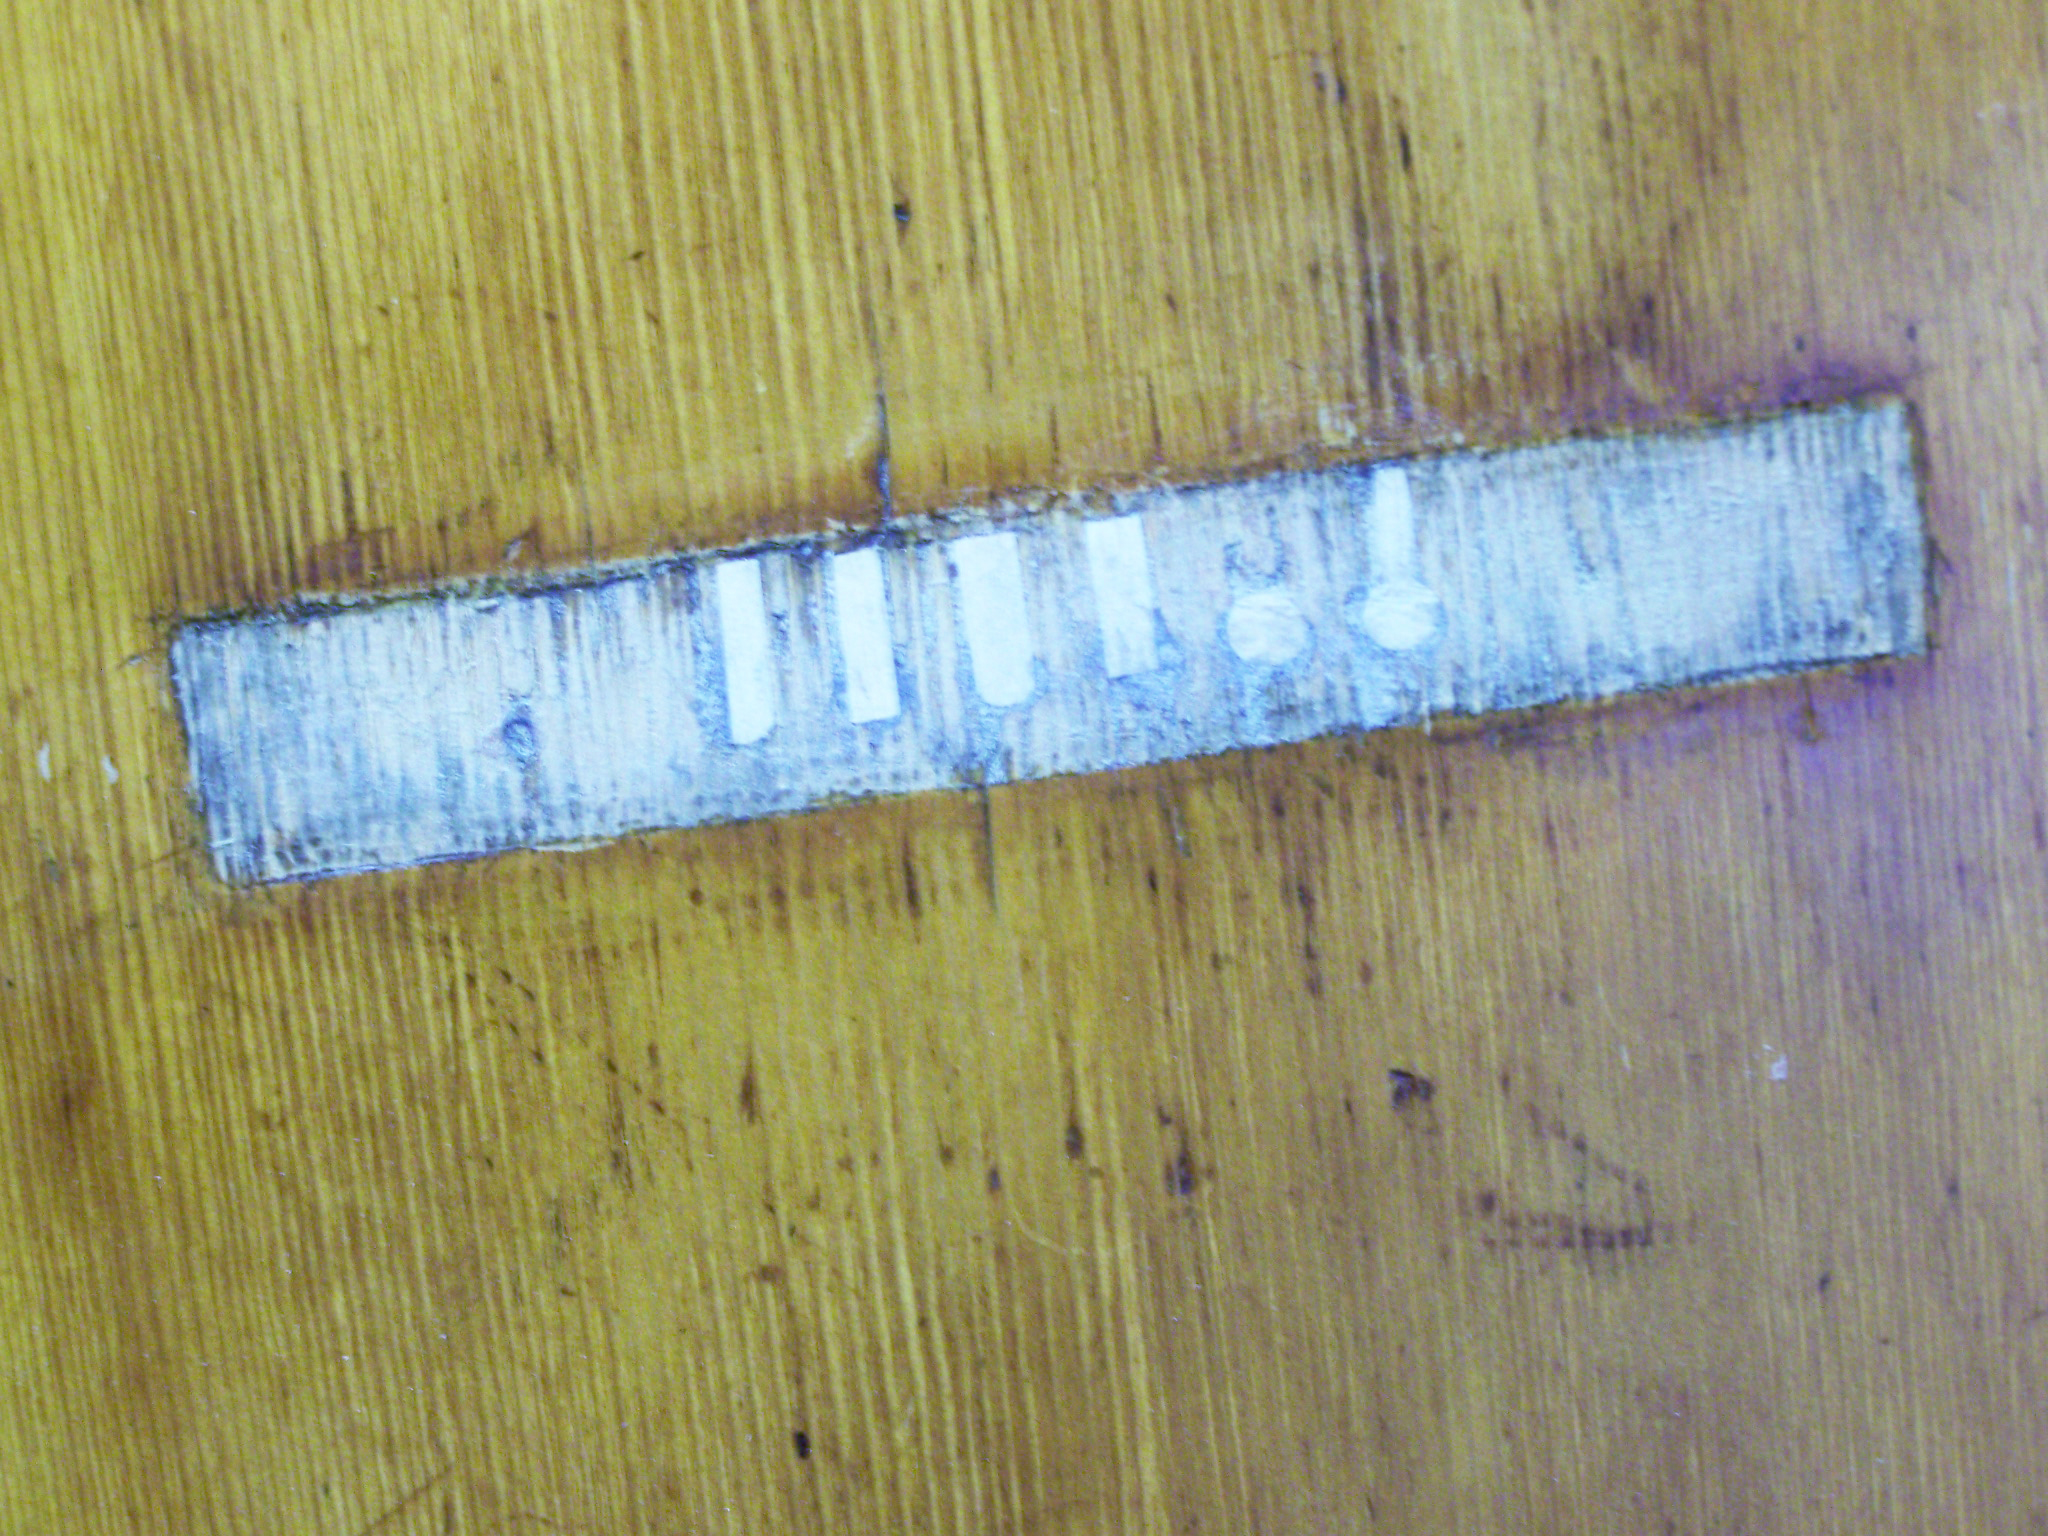
The plantilla is very similar to other Spanish guitars ofthe period,and the detail of the purfling that dresses the center joint of the back extending onto the heel cap is also Spanish. The sides are reinforced 
 with “finger” type side braces thatare seated atop theends of the back braces and top braces. Quitedifferent than most Martin guitars, but clearly of Spanish influence.
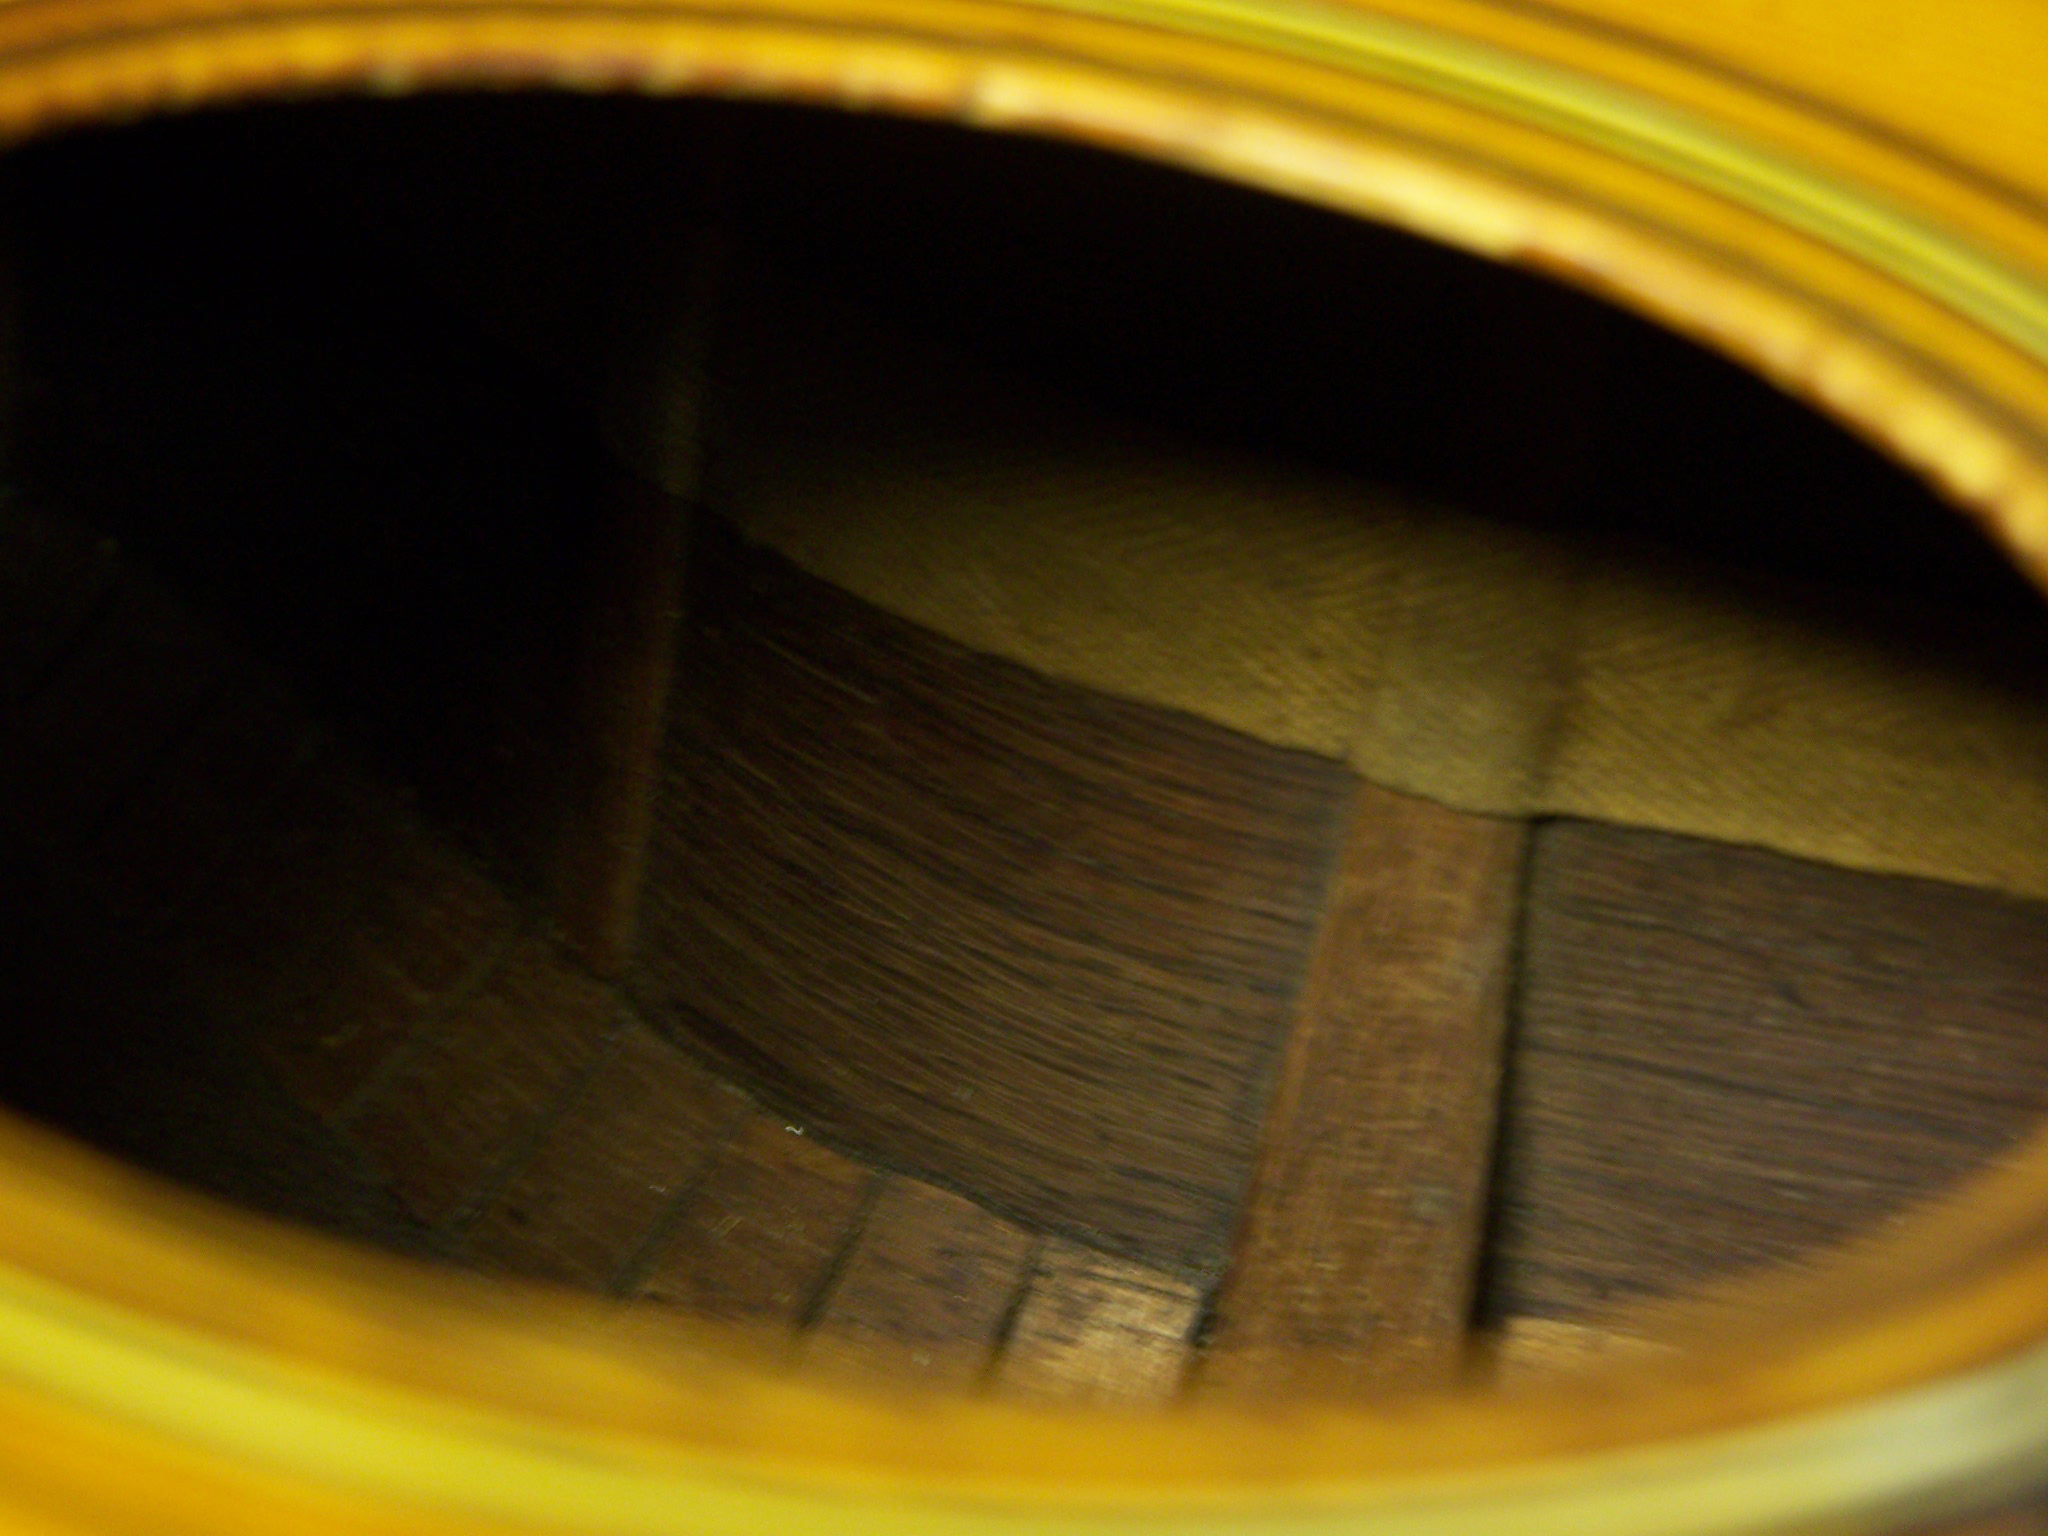
THE REPAIRS: The first thing to do with this project was to remove the original bridge plate, which was badly chipped and had significant loss of material in the area of the pin holes. This loss of material undermines the structural integrity of the top. The plate was gently heated to 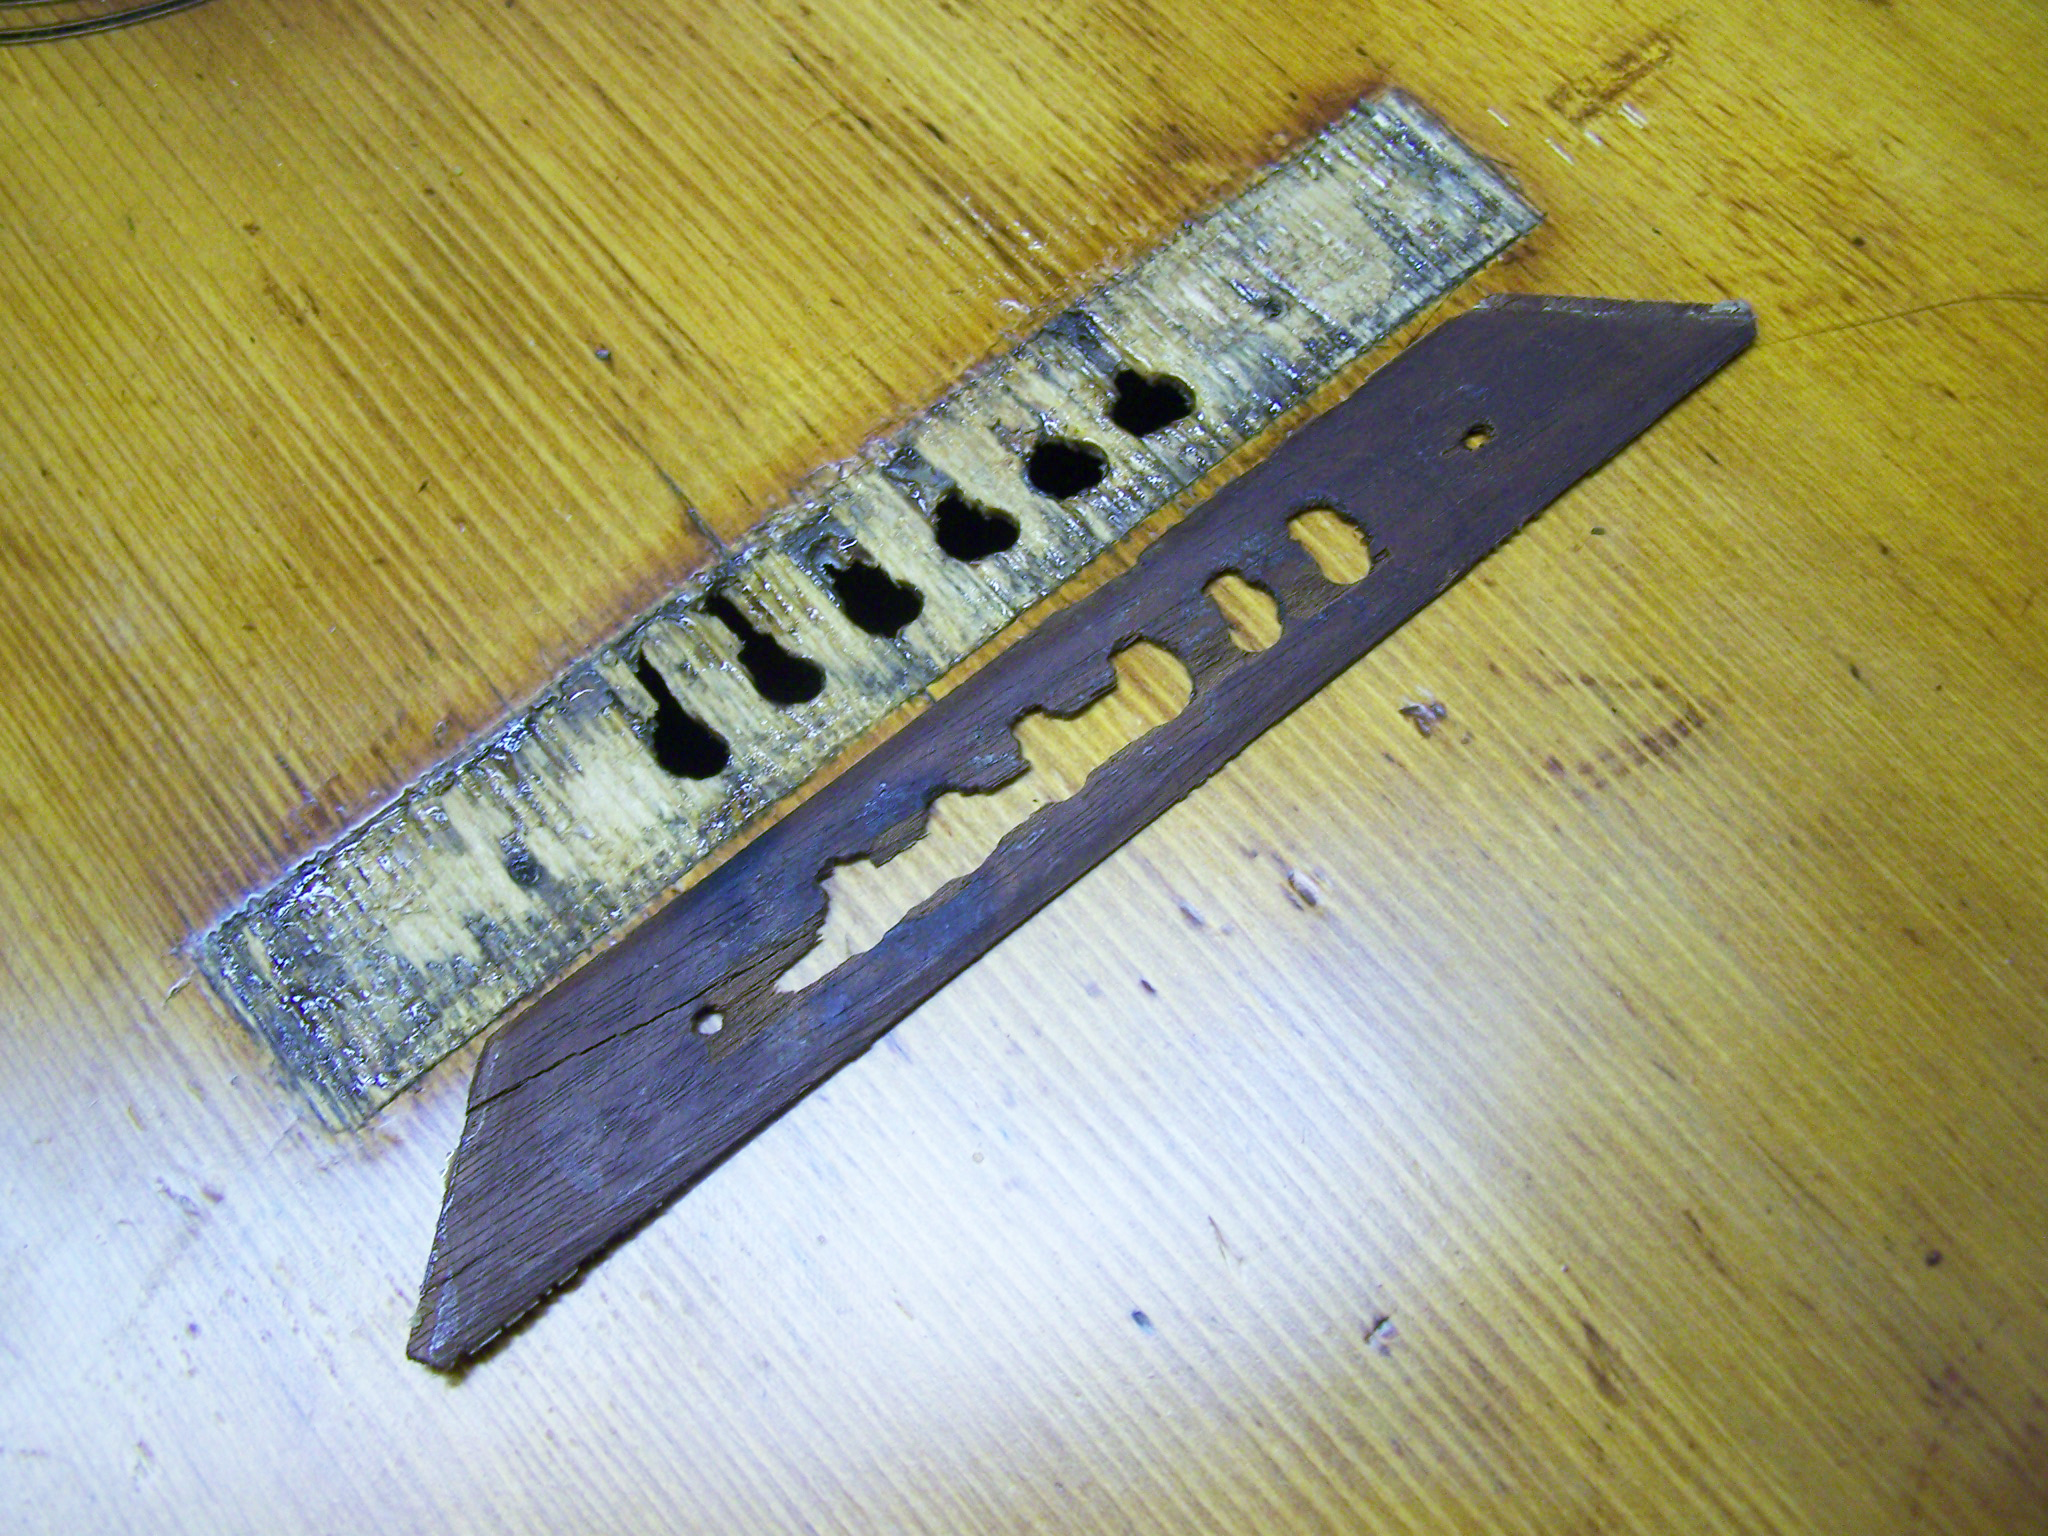

 break the bond of the hide glue that held it in place. Once the glue began to loosen a small spatula was used to separate the plate from the top, taking care not todamage the spruce beneath. During this period (and for many years after) Martin notched the bridge plate into the X bracing, so great care must be taken to loosen the ends from the “pocket” in the X bracing to allow for clean removal.
Once the plate was out of the guitar a new plate was made to replace the original. The originalplate was mahogany (not uncommon on mid-19th century Martins), so the replacement was aswell. A new plate was cut frommahogany that was thinned to match the thickness of the original and then was shaped to the exact dimensions of the original. After I was satisfied with the shape and had checked the fit inside the guitar (dry fit, no glue), I used a little stain and some potassium dichromate to oxidize the new plate to match the color of the original. 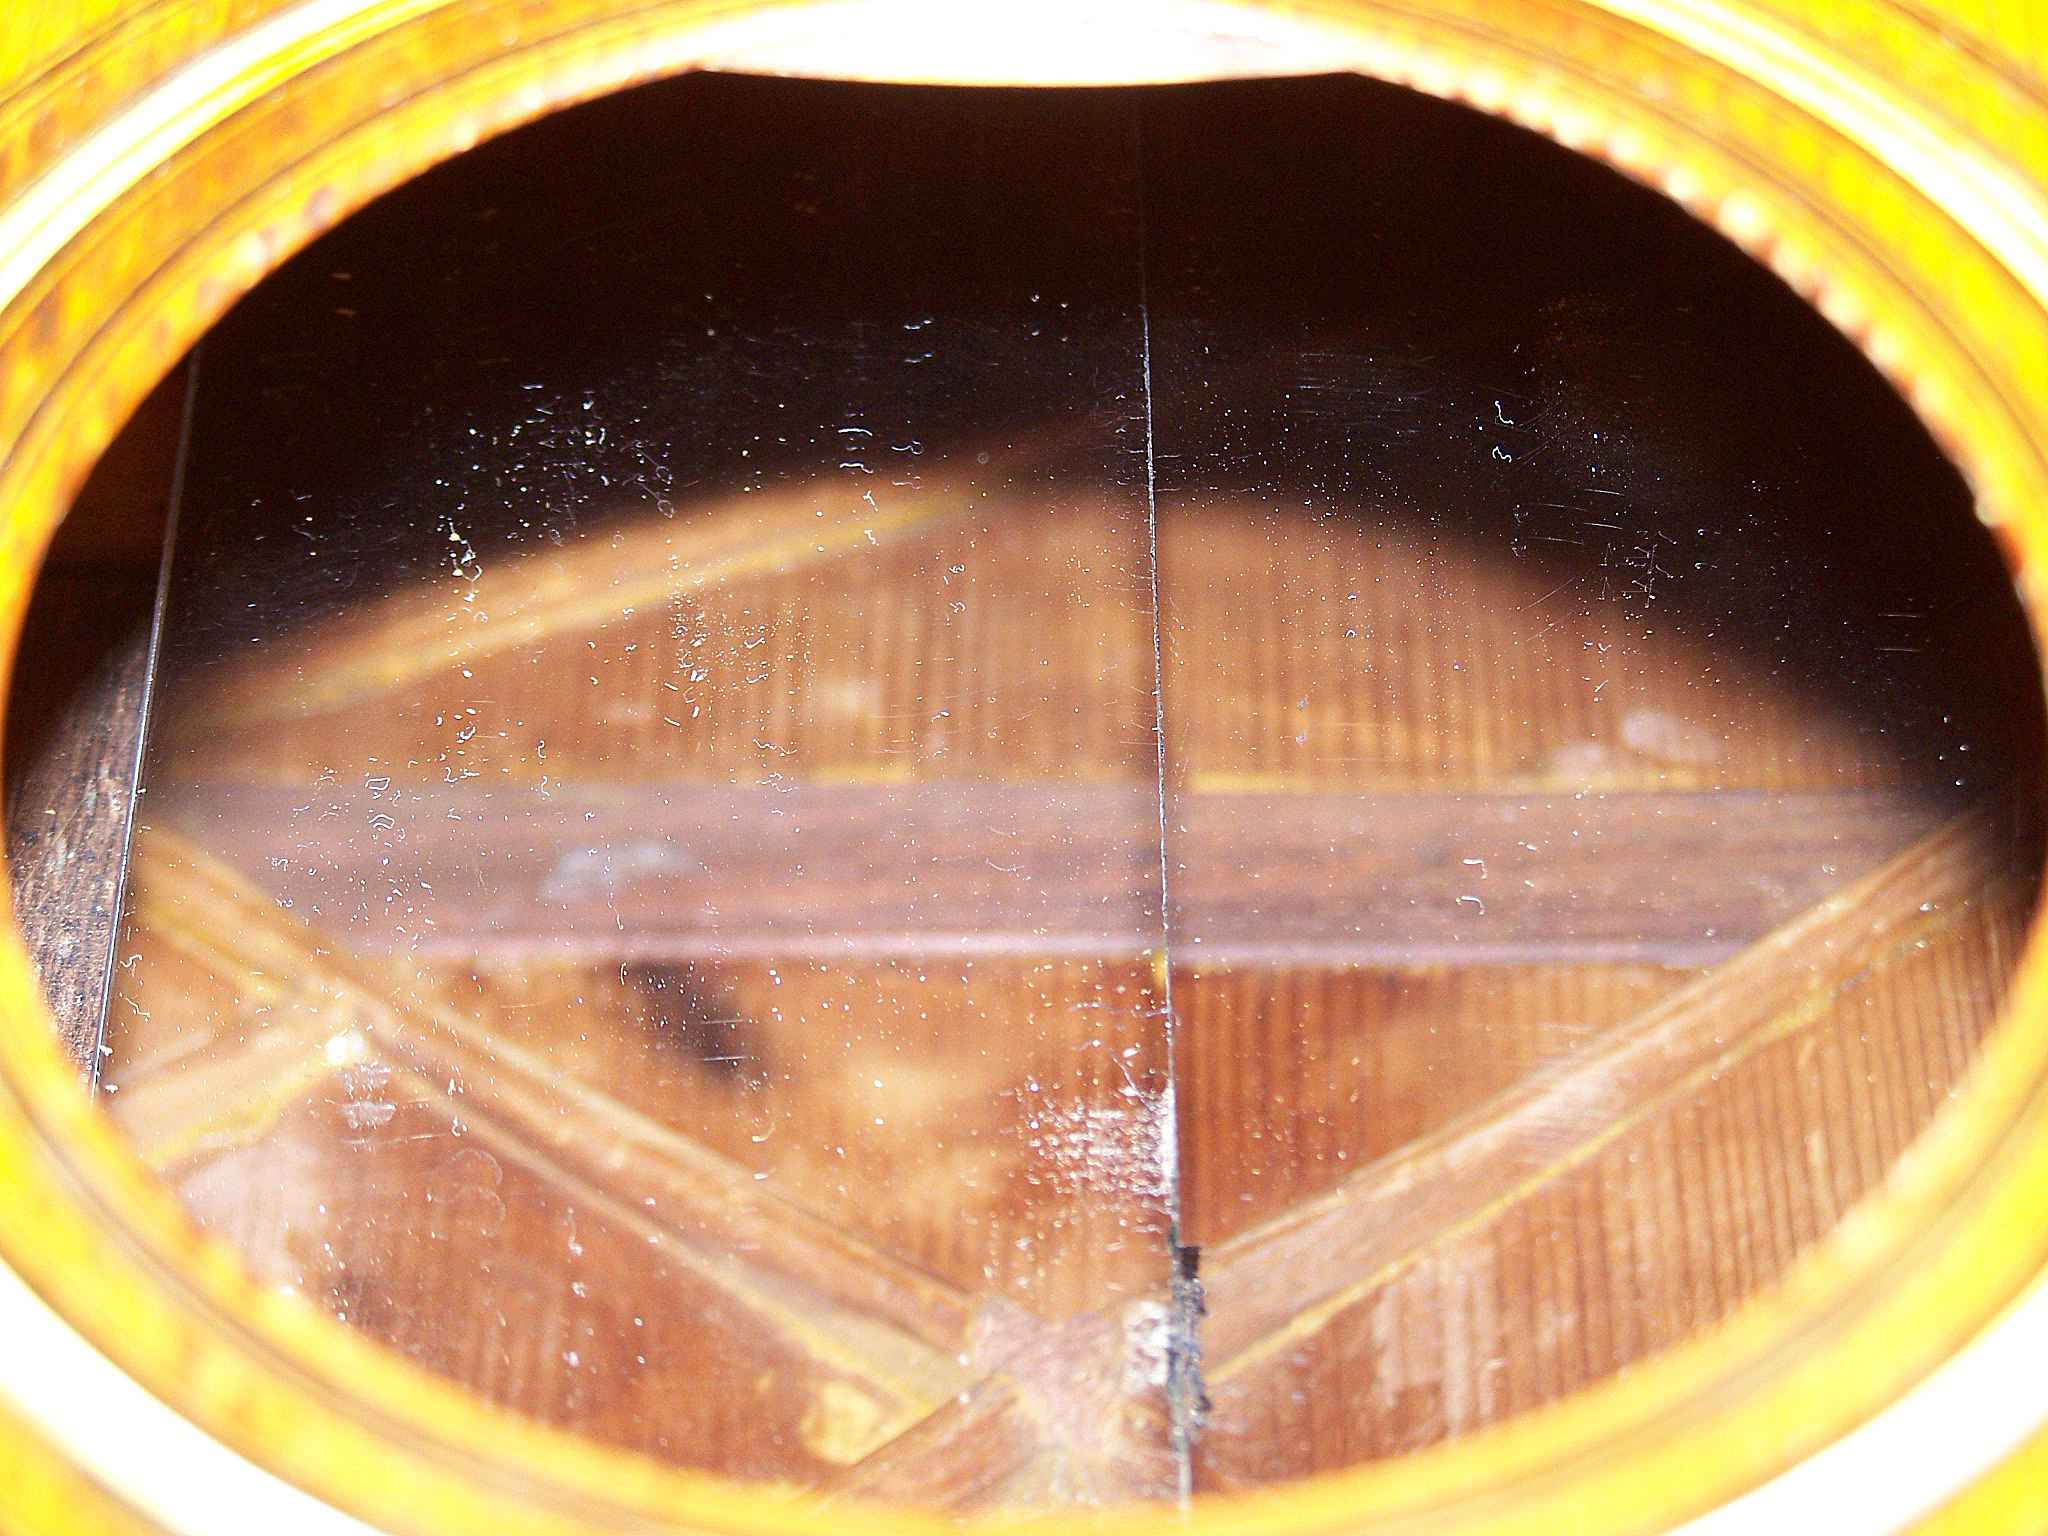
 This makes the replacement plate look old right from the start. After aging the plate it was installed, tucked into the X brace pockets just like the original.
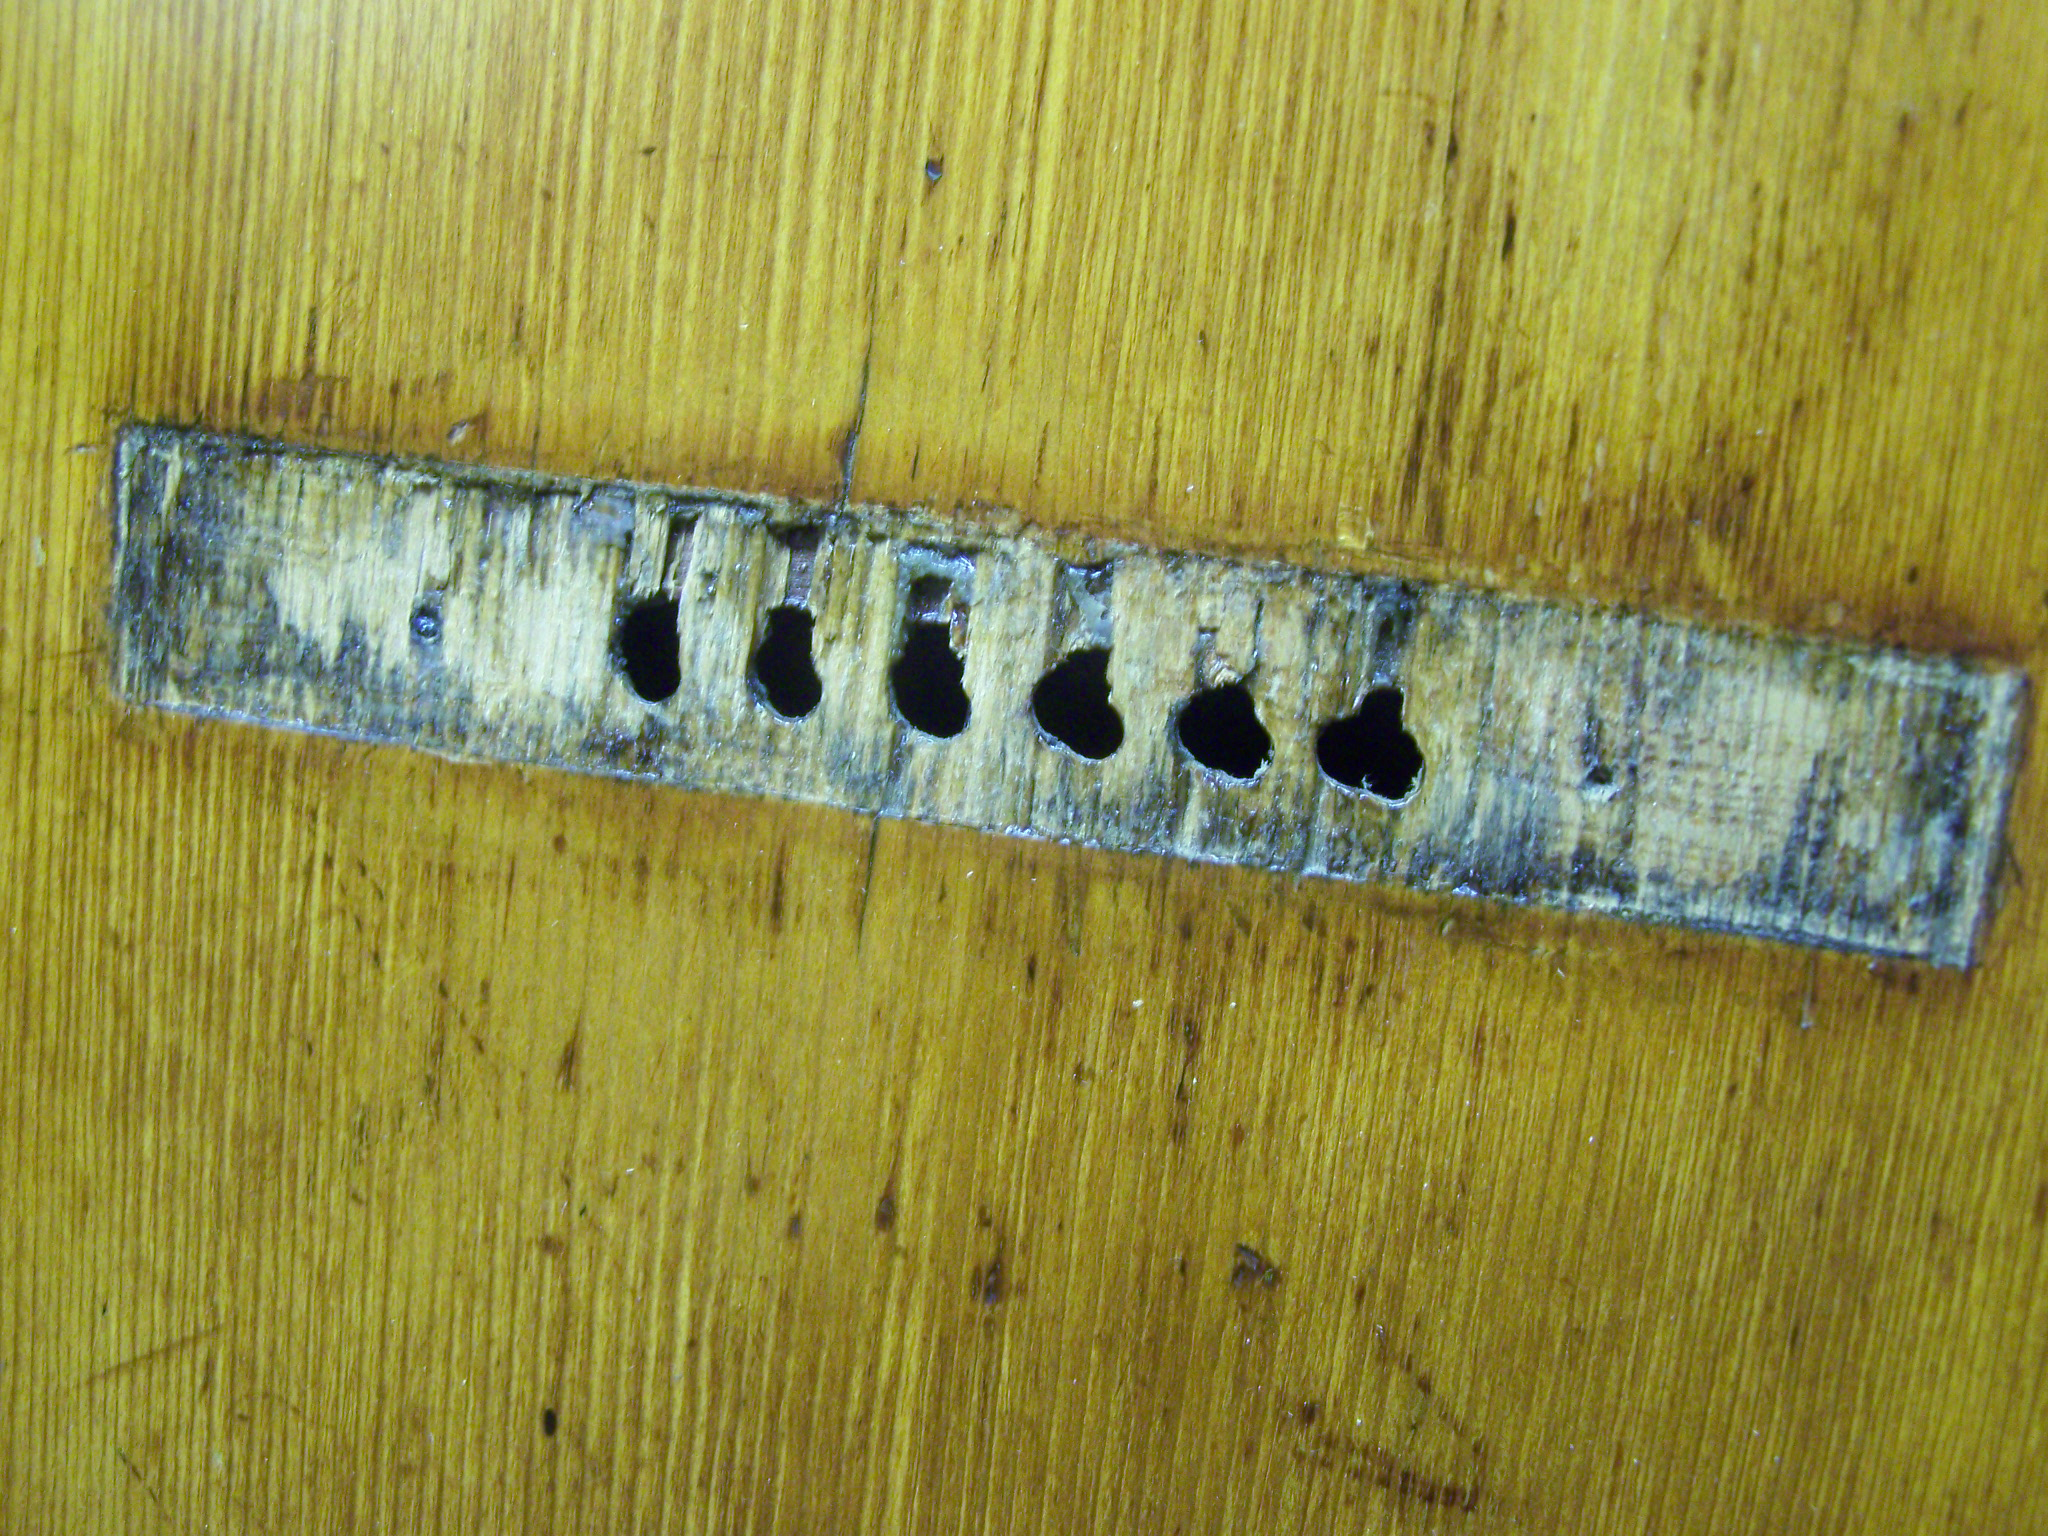 The top, as noted, had spruce tear-out and missing chunks of spruce from previous and repeated bridge reglues and removals. With the bridge plate in place the ragged edges of the spruce could
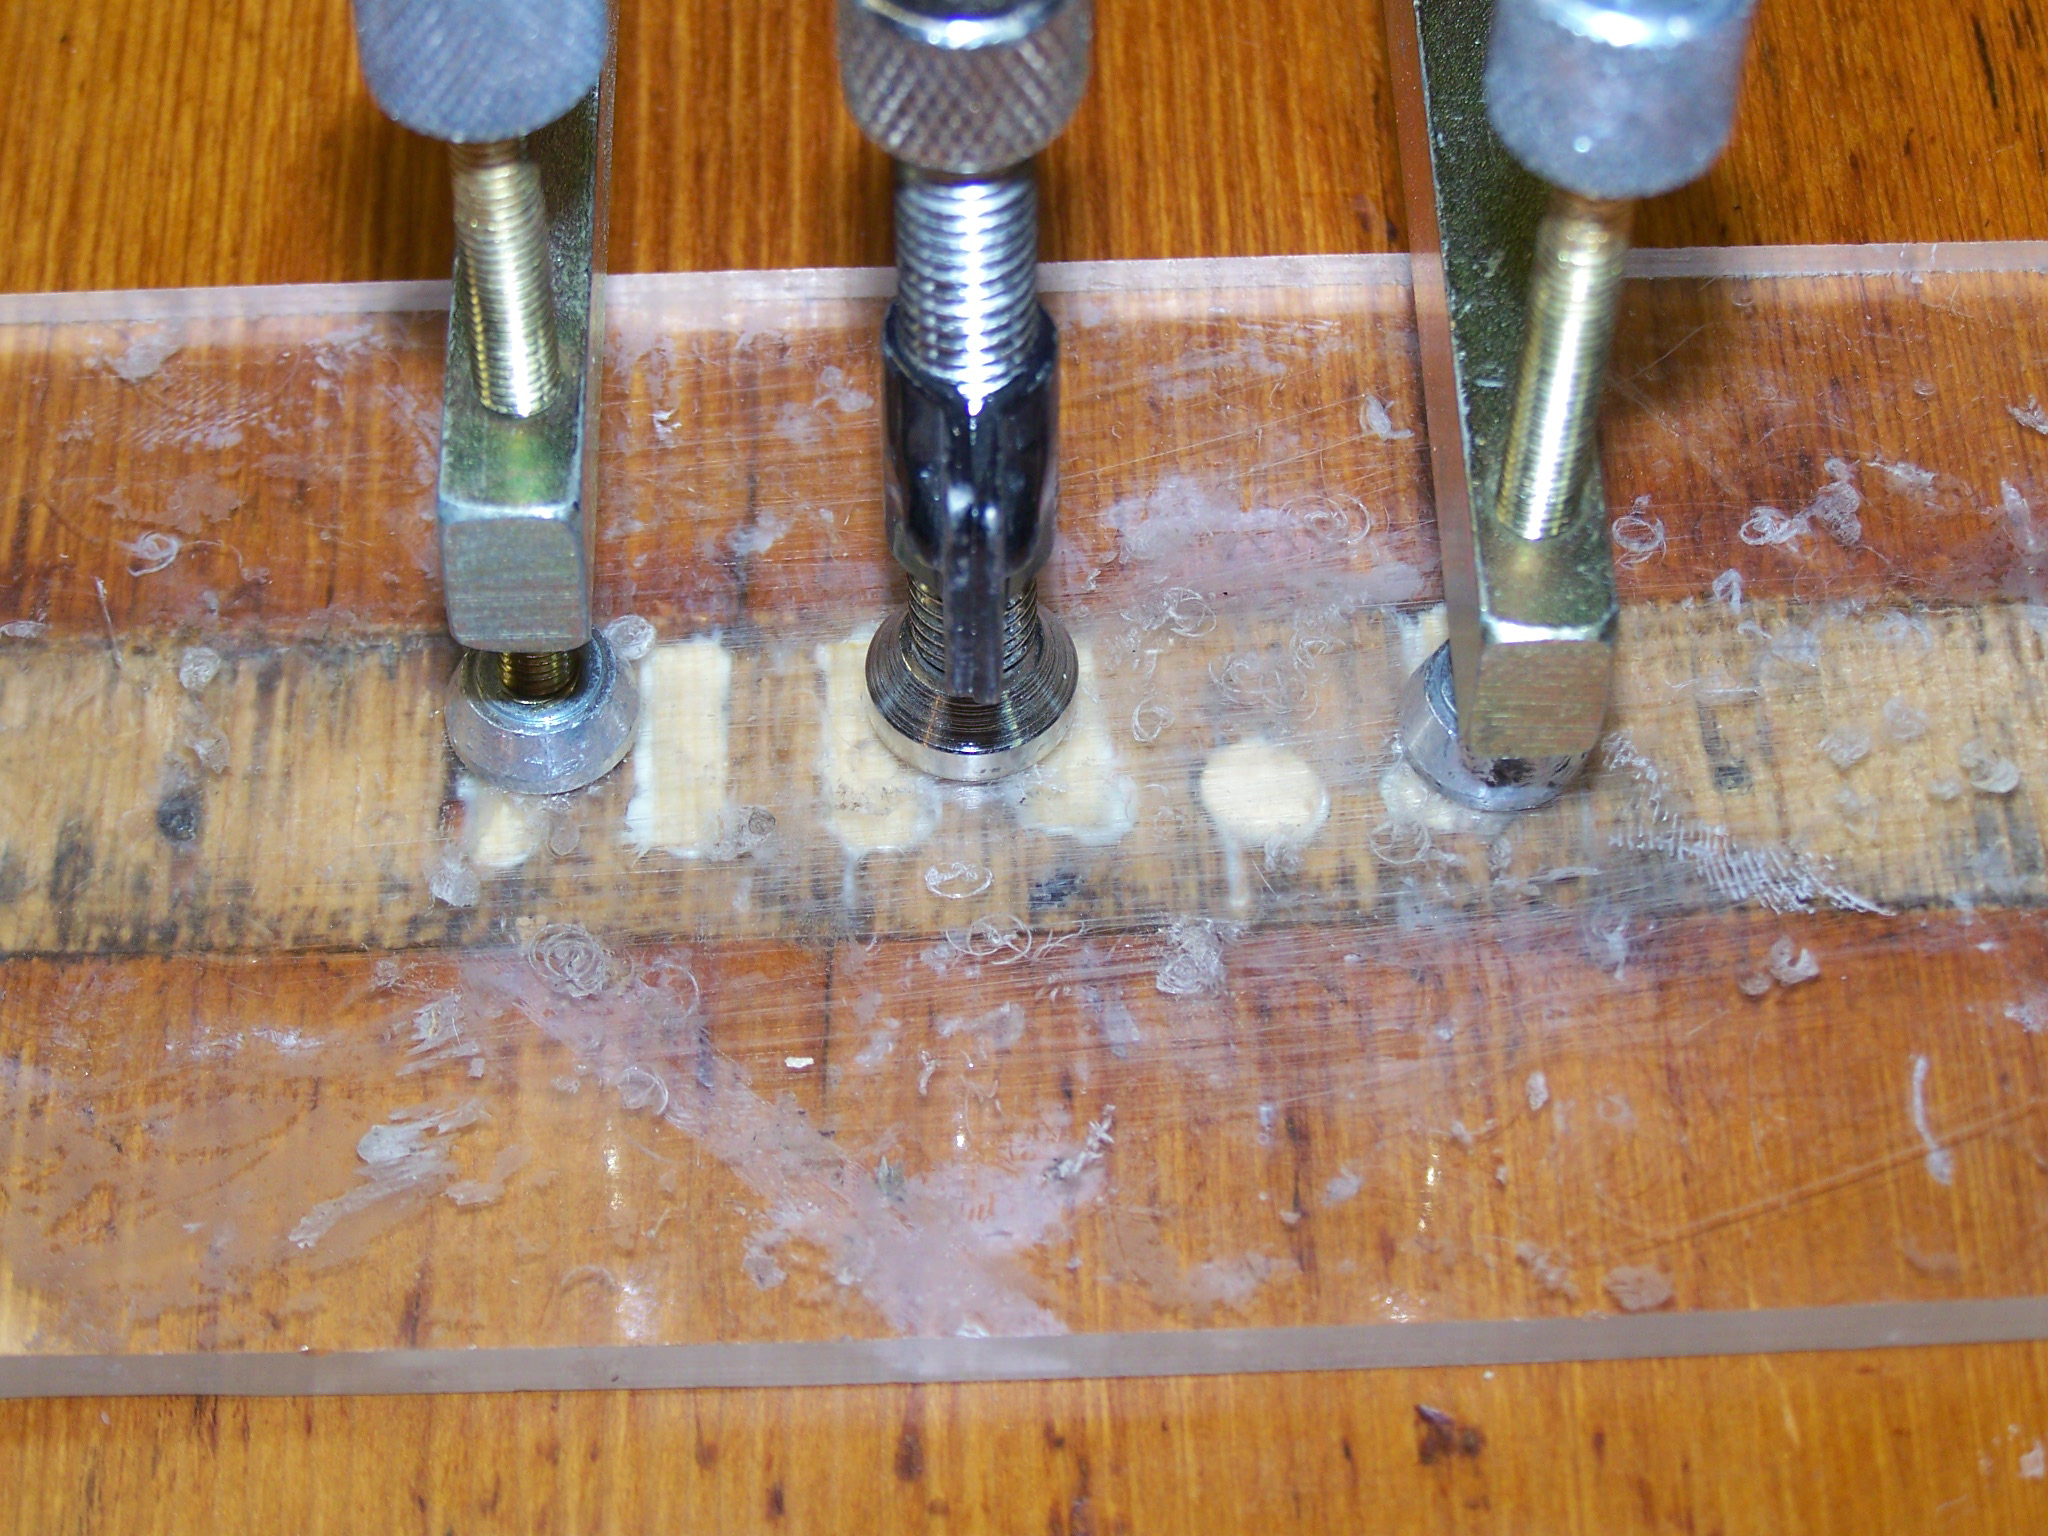
 be cleaned up with a sharp chisel and plugs/grafts fashionedand installed to repair the deficits. When finished this repair would providethe proper flat gluing surface upon which to re-install the bridge.
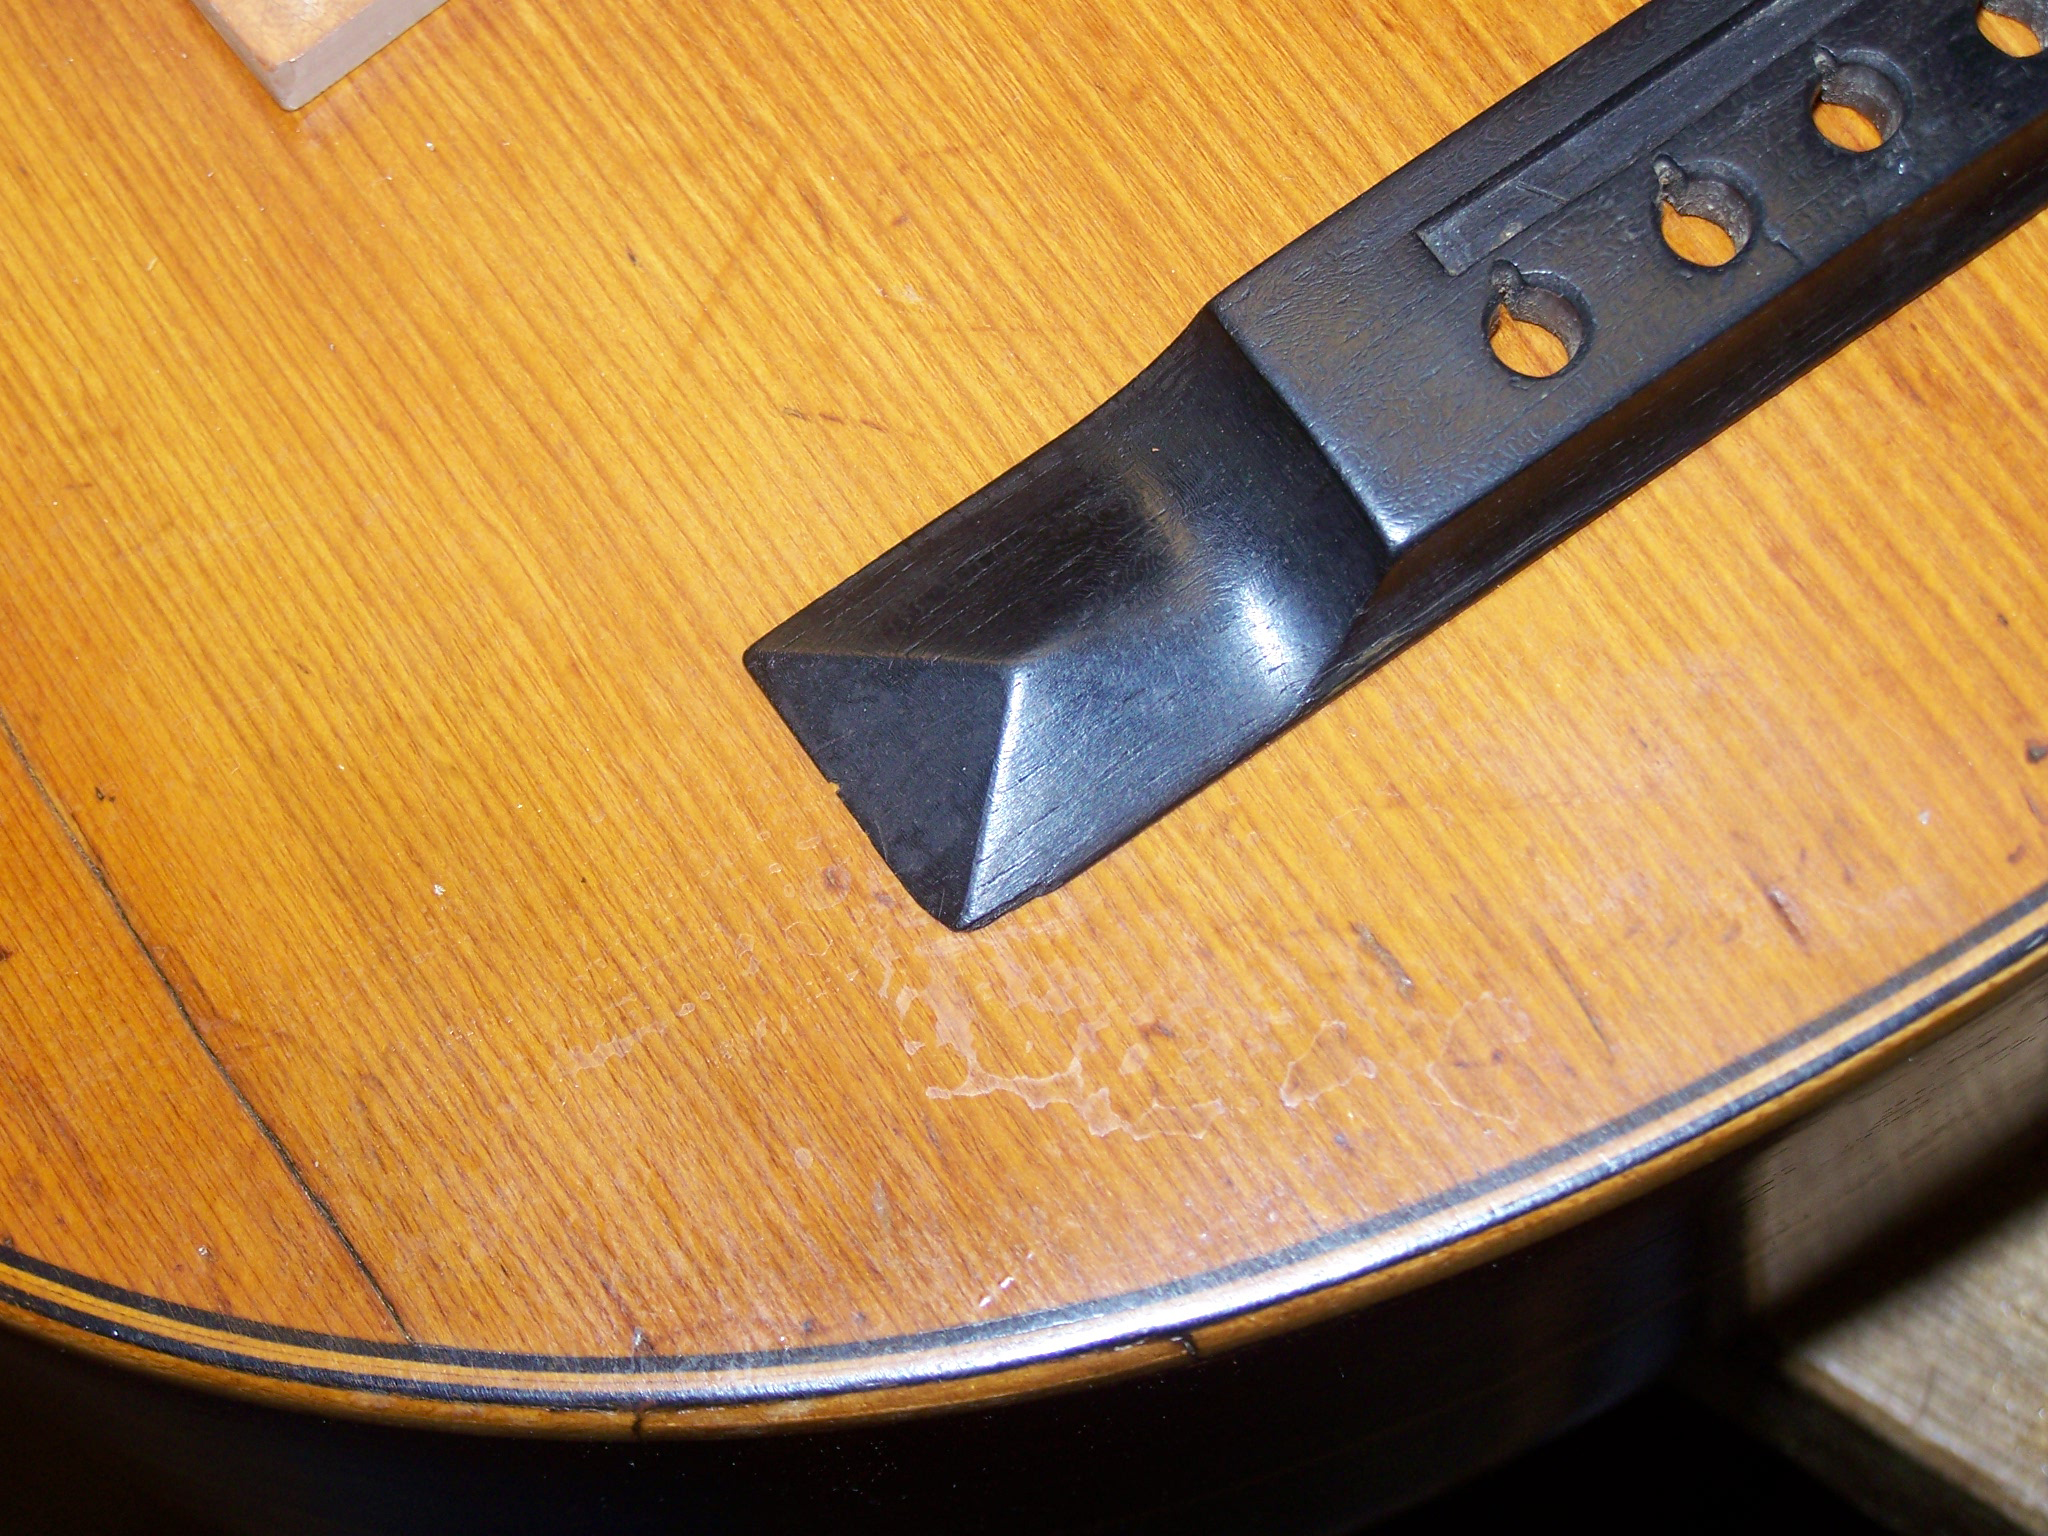
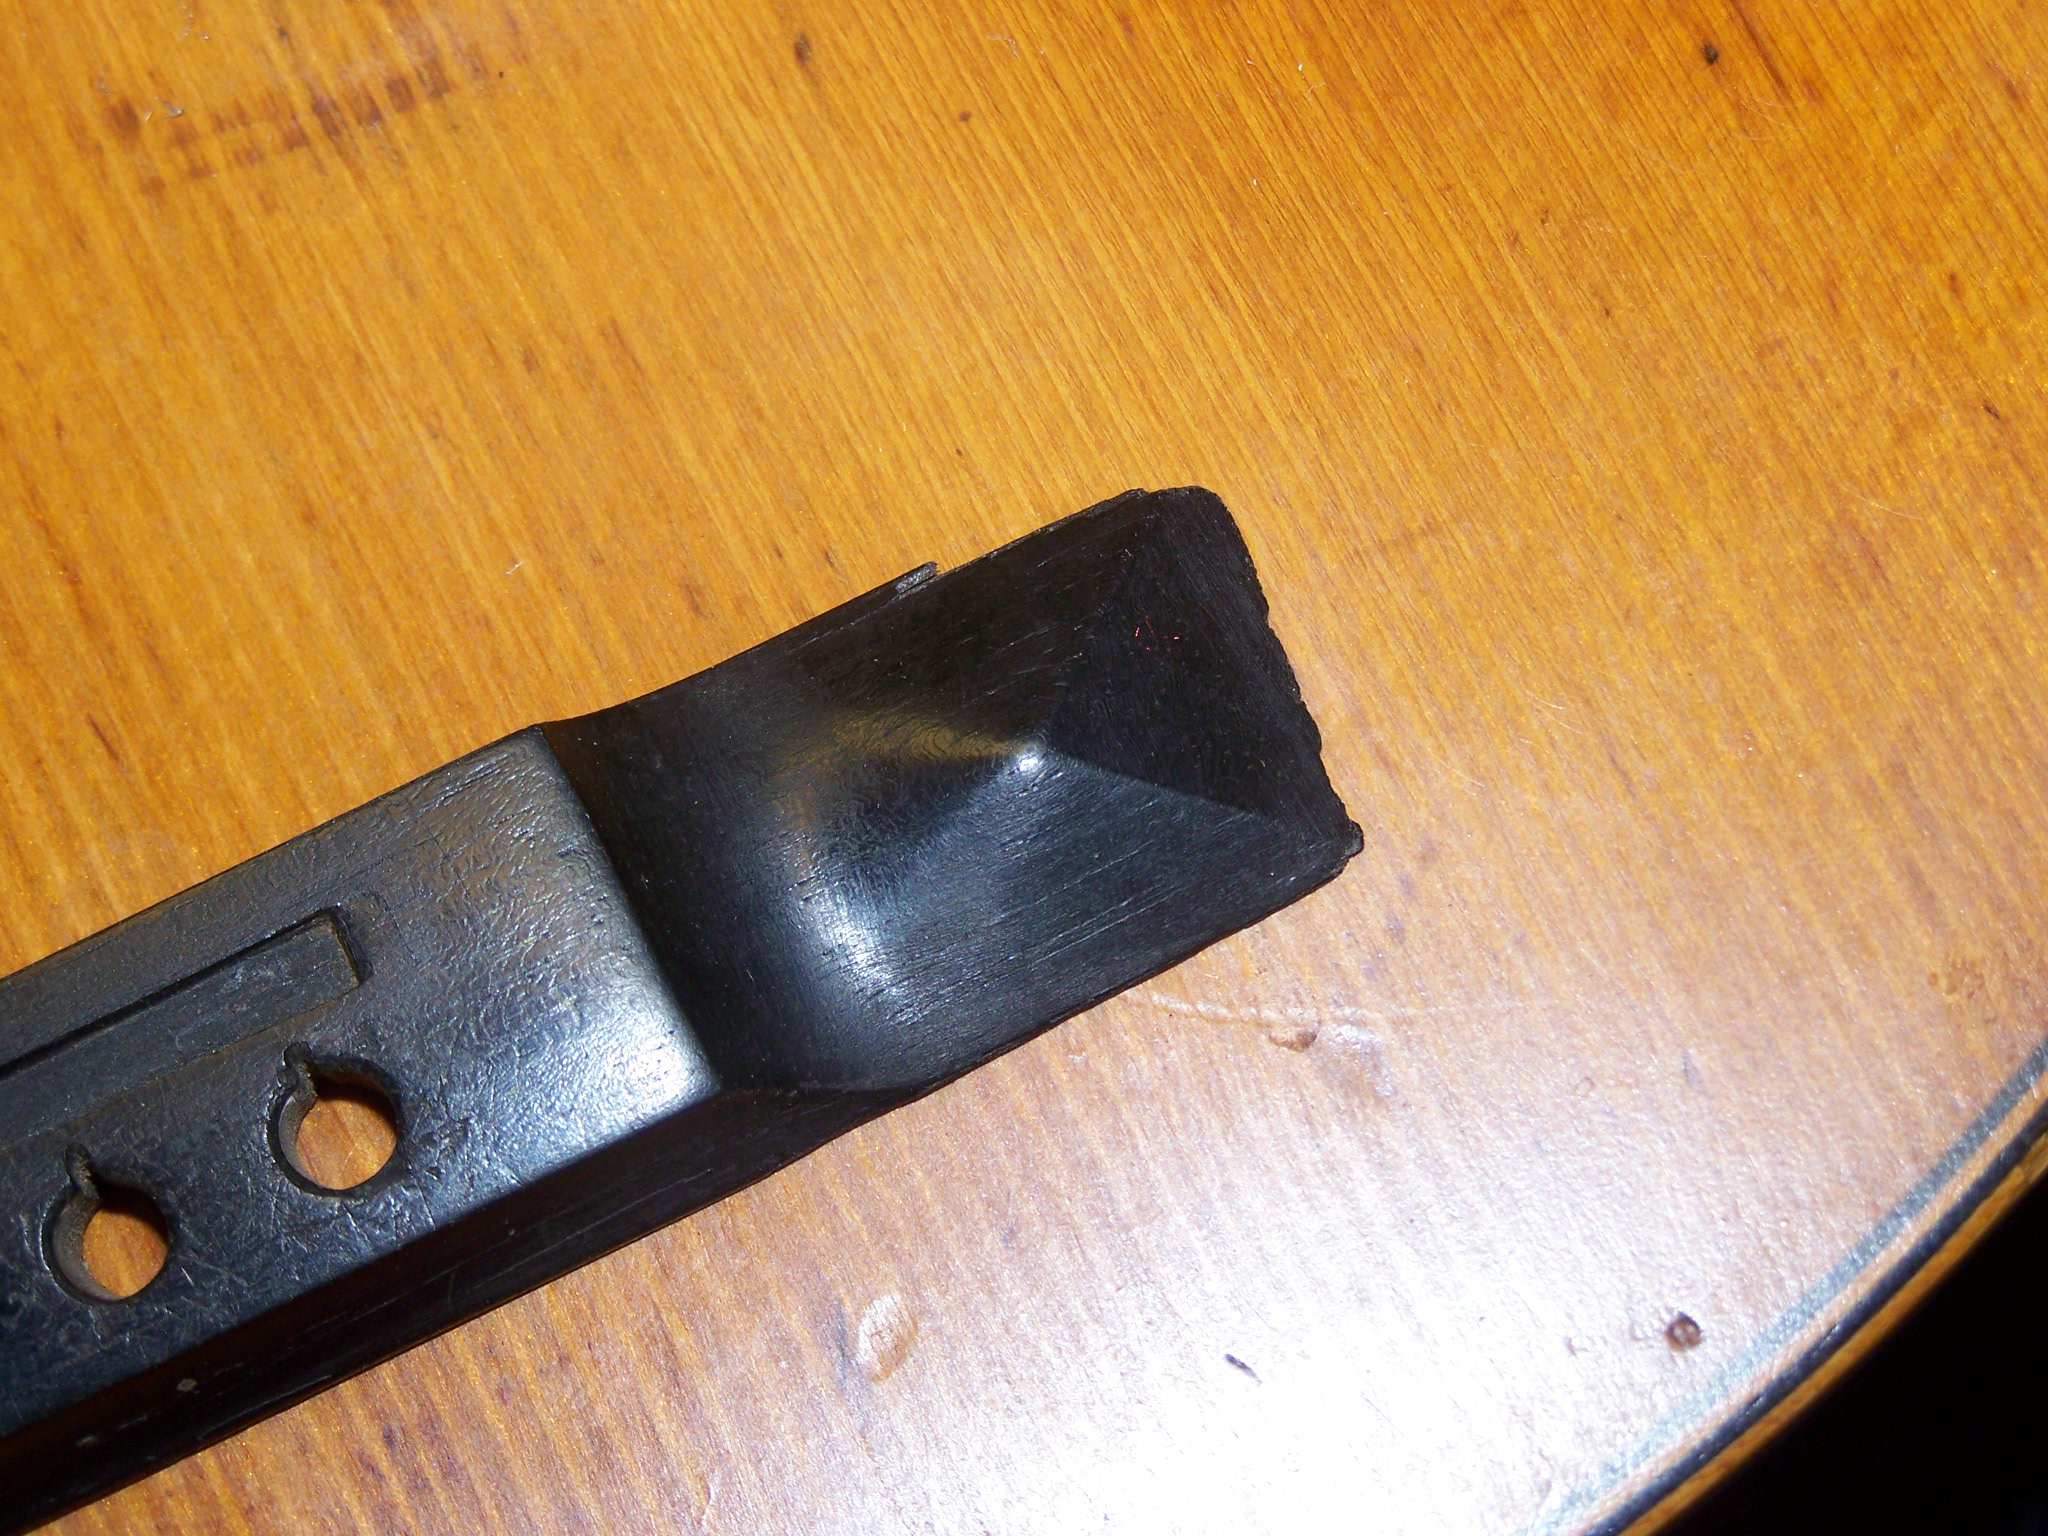
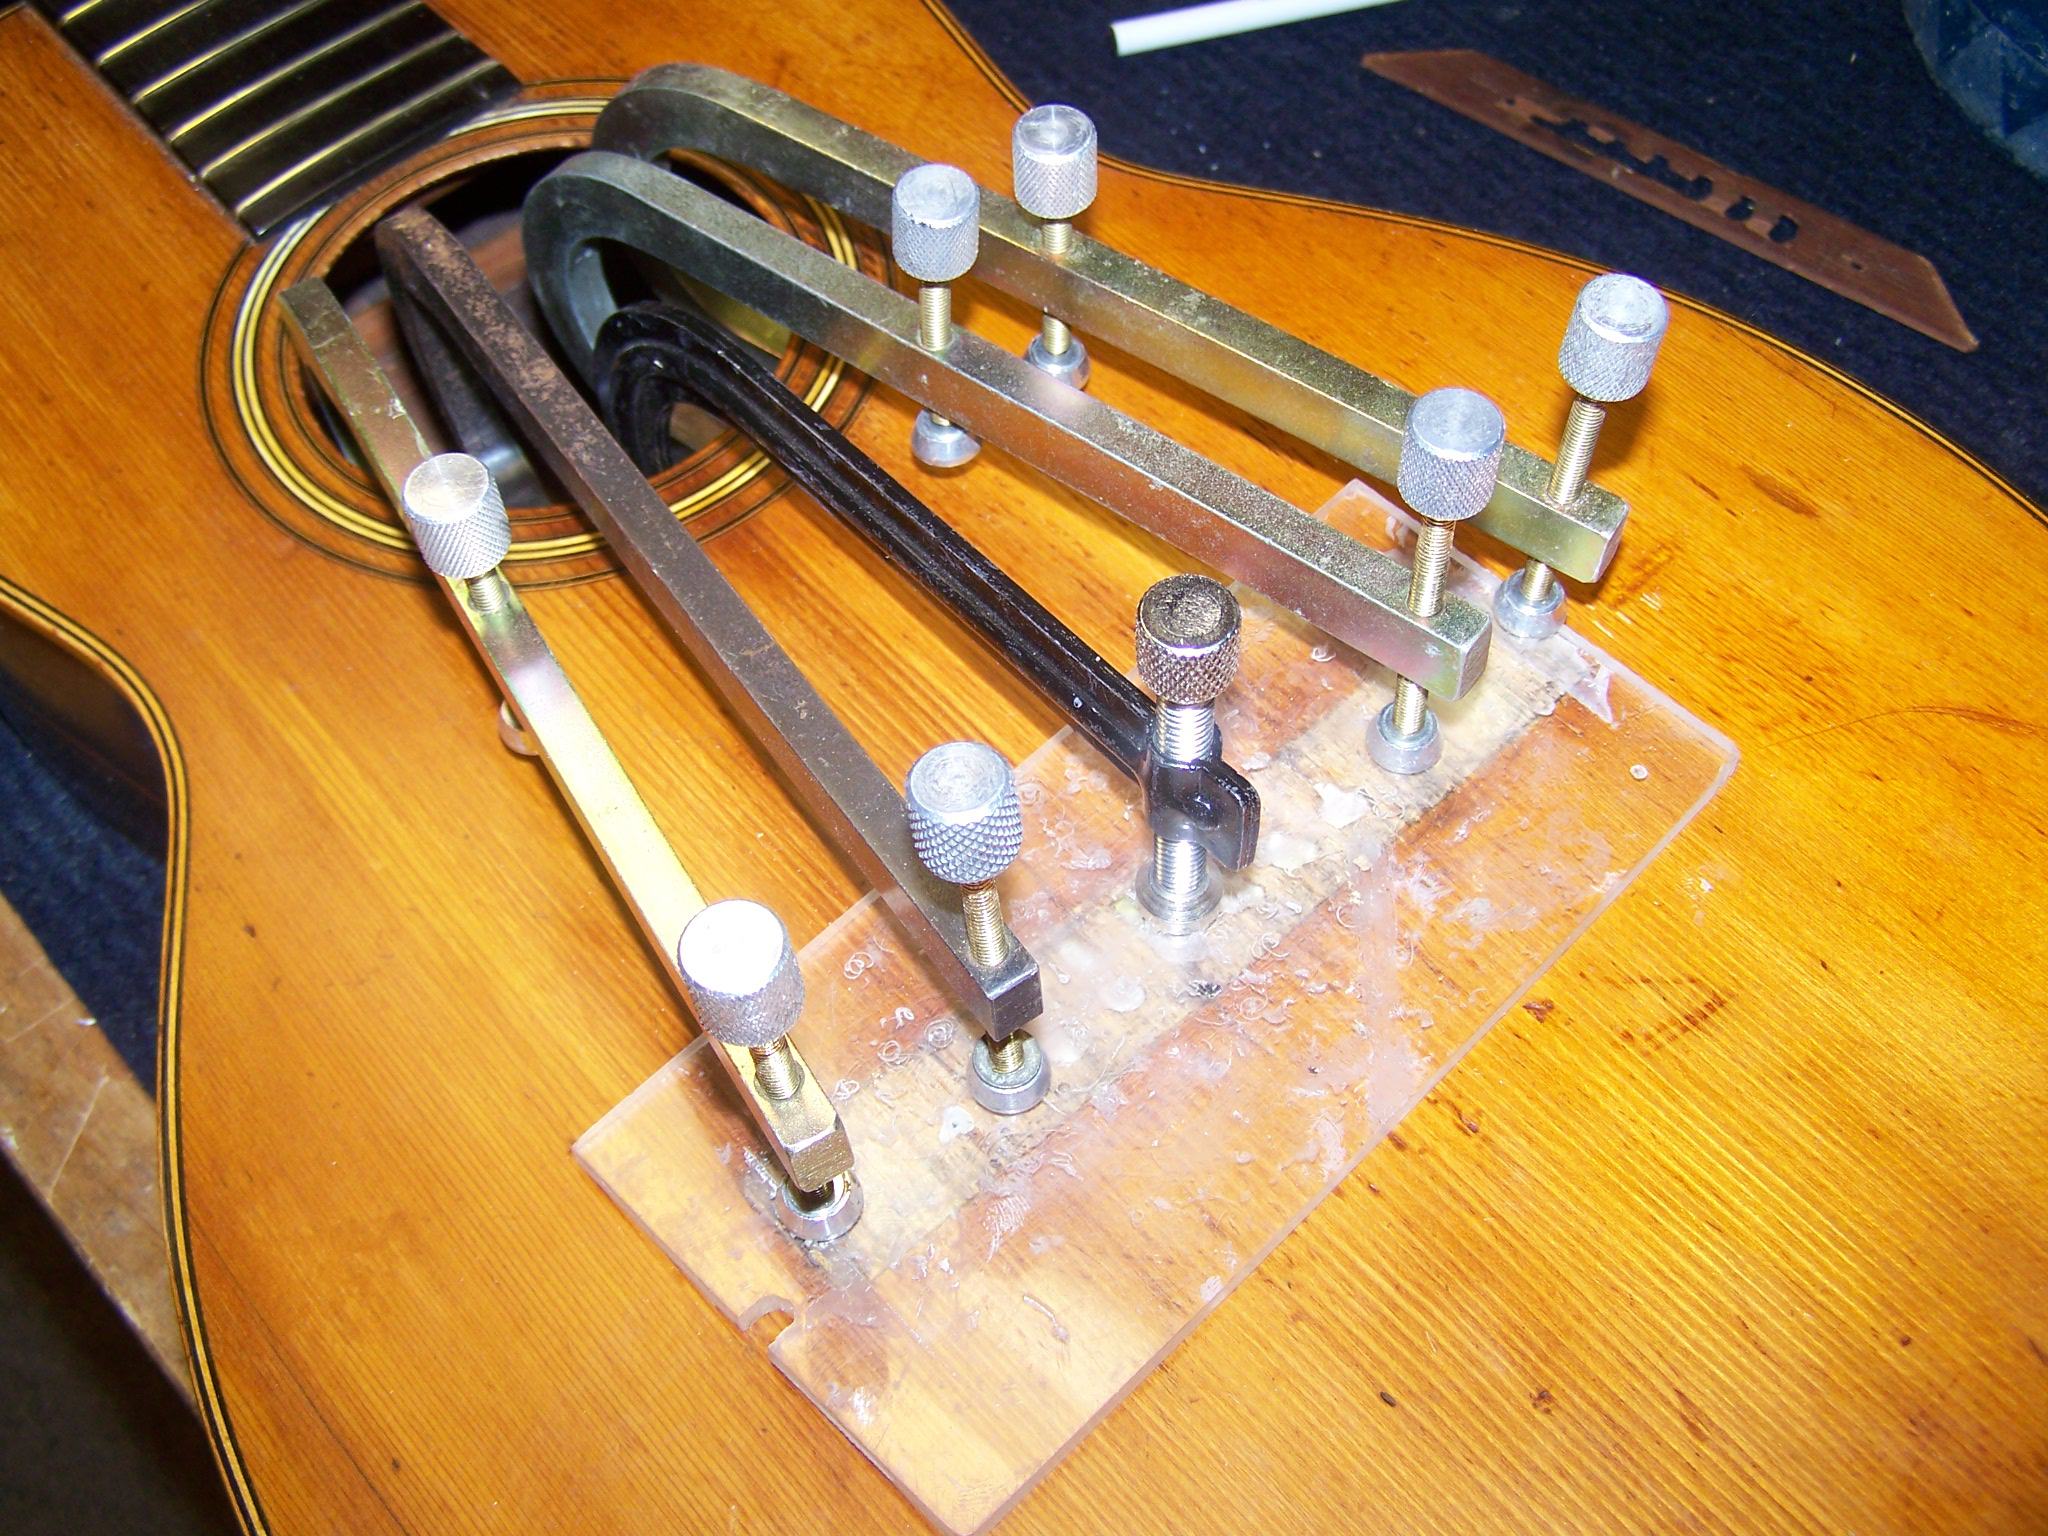
The bridge had two problems…cupping and a slightly reduce length and ragged edges due to the attempts to flatten it by sanding in the past. The dimensional reduction was slight, and the first step to restore the proper footprint to the bridge was to heat and clamp the cupped bridge flat  in order to remove as much of the cup as possible. After the bridge was left clamped for one week the cupping was reduced but there was still some spring-back. The next step was to glue the original bridge down to an ebony veneer. The veneer was allowed to arch to the curvature of the cupped bridge.
  After the glue dried the bridge was flattened (from the bottom, removing material only from the veneer) on a belt sander to remove the cupping that was left. Next, black cyanoacrylate glue was used to fill the deficits at the edges where thinning had resulting in missing chips and ragged edges. The cyano glue dries very hard and against the black of the ebony bridge and veneer the glue virtually disappears when re-contoured with a file to restore the proper profile to the pyramid ends.
 After shaping the ends and sanding the surfaces down to 600 grit (and buffing) the bridge has its original profile and footprint re-established and it is now ready to glue onto the top of the guitar.
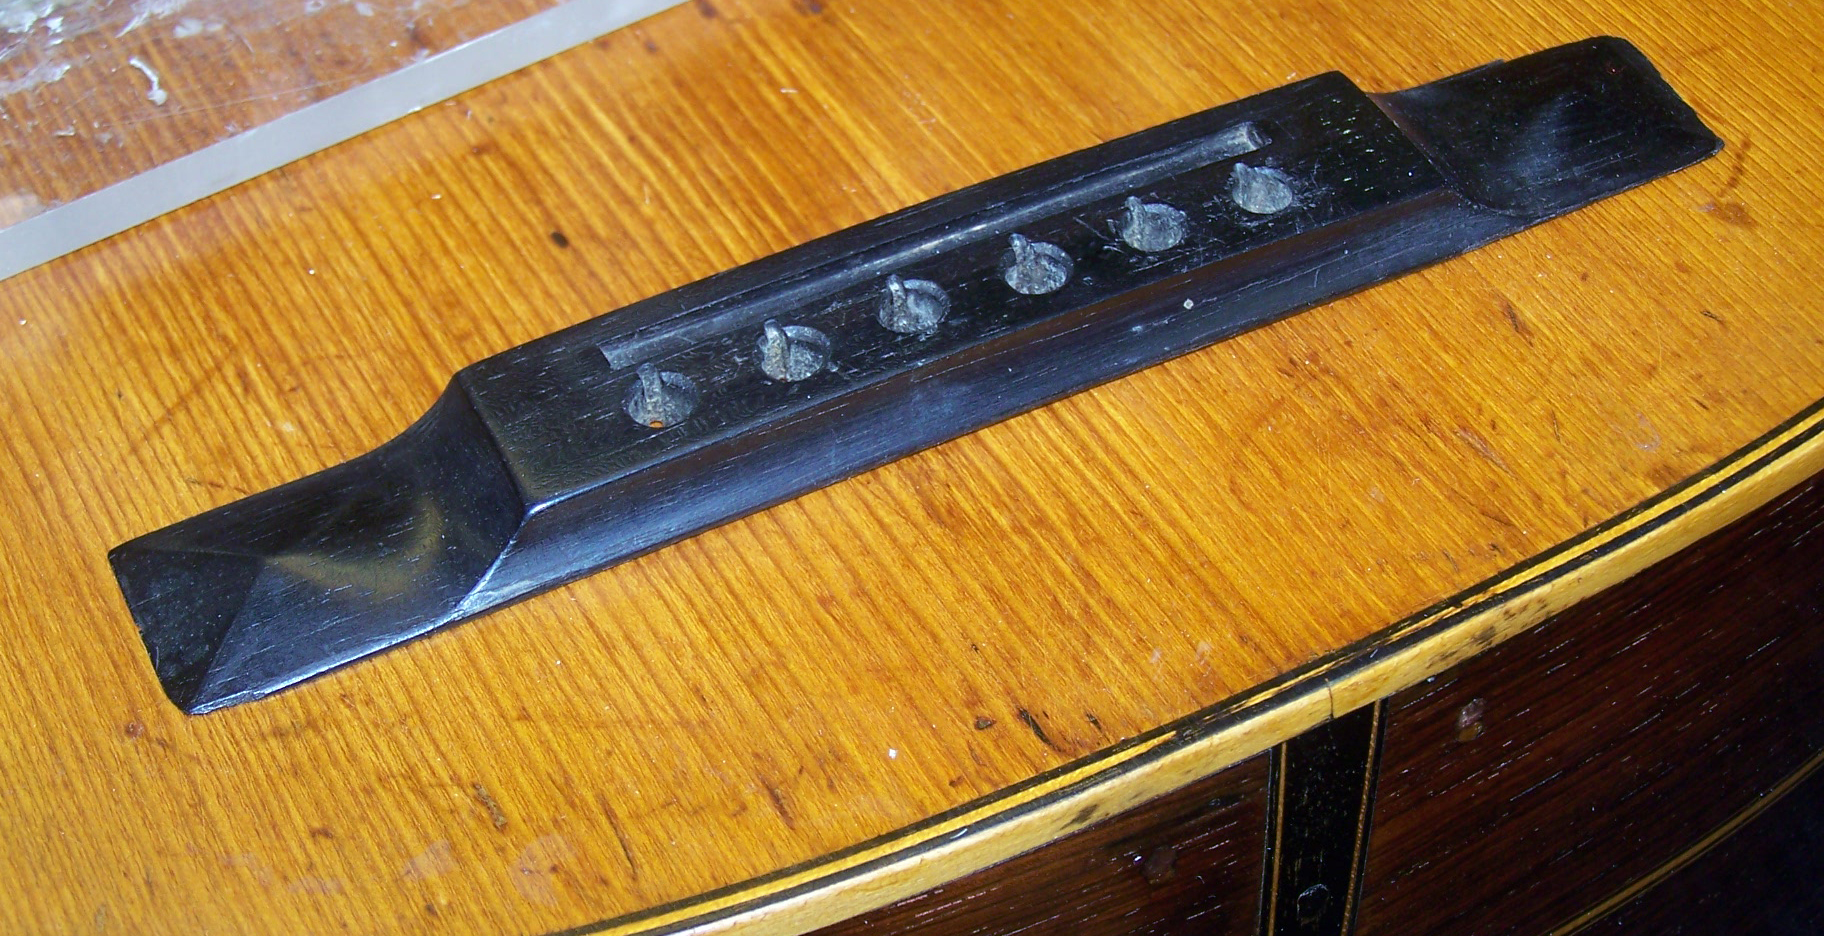
The final pics show the bridge back on  the guitar. The overall appearance is very good, the work done is only visible on the closest inspection. The base of the bridge is slightly taller than it would have been originally due to the fact that the veneer glued to the bottom of the original bridge to restore the edge contours added about 1/16” to its height. However, this is only visible on very close inspection and seemed like a fair trade off for saving the original bridge.