Articles
Feb 2007 – 1920s 0-18K Top Graft
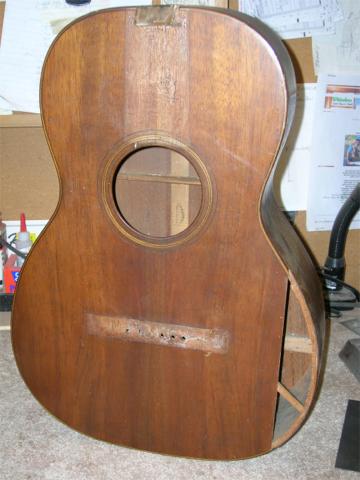 This late 20s Martin 0-18K came to the shop needing a number of repairs that have been covered in other articles on this site (neck reset, refret, bridge reglue). But it also had a substantial piece of the top broken off that needed to be fixed. The chunk of Koa that was gone was completely gone, that is, no longer with the guitar.
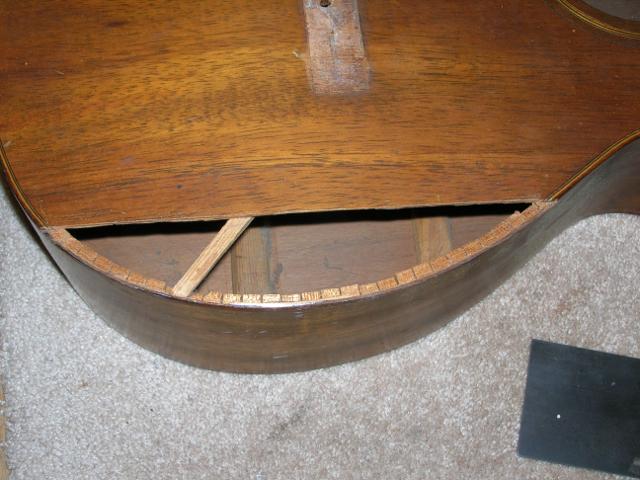
The binding and purfling that dressed the edge of the top before the damage was done was also gone. The original kerfed cedar lining beneath was intact.
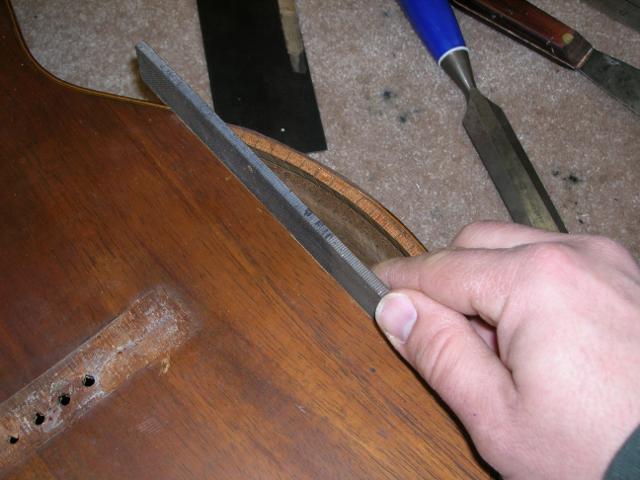
The first thing that needed doing was to true up the line where the break took place. That is, the break line wasn't straight, and it needed to be made straight to offer a good joint line with the new piece to be grafted on. This task was easily accomplished using a file to true the edge. The file must be dead flat in order to establish a good joint that can be matched to the new piece of koa.
 Once a good striaght joint was made, I used a scrap of Koa from a building project to fashion the new piece. Of primary concern is finding a piece that has similar color and grain character and curl. While the color of the unfinished wood is dramatically lighter than the old finished guitar the color matching would be accomplished in a later step of the repair.
Once the new piece was chosen, sanded to proper thickness and trimmed the piece was glued in place. The clamping of this graft presents a few challenges, as the piece must be clamped in several directions.
Clamping pressure must be applied to mate the surface of the graft with the surface of the top along the length of the joint.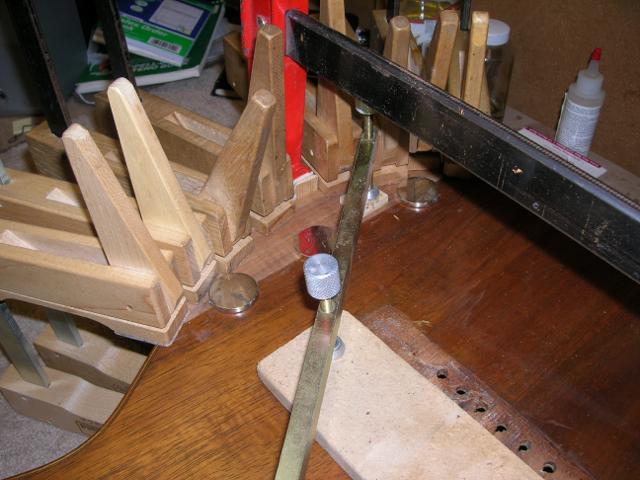 The new piece must also be clampled along it's outside edge to glue to edge to the kerfed lining and side of the guitar. Finally, the new joint must be clamped on it's outside and inside to assure proper alignment of the pieces once the joint is dry. This last clamping challenge is overcome by the use of strong magnets that keep the joint from buckling, puckering or misaligning when pressure is applied from the clamp on the outside of the graft.
Once the glue has dried and the clamps have  been removed the new graft is in place. Now the binding and purfling channels can be established. Since the section of binding and purfling that needed to be replaced was only about ni
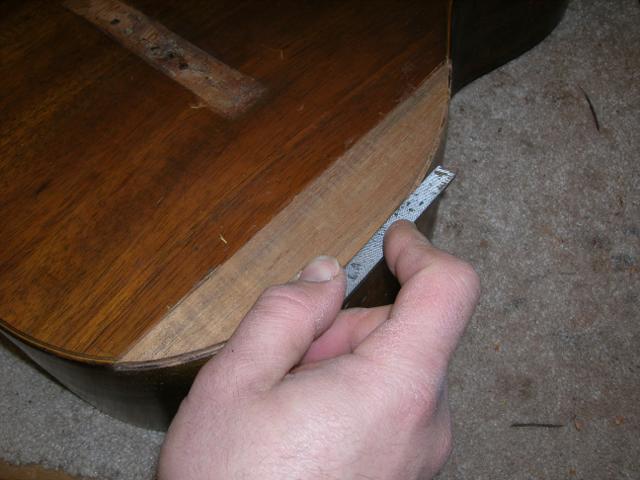 ne inches in length I did this job with a hand held violin purfling cutter and a sharp chisel. A small file was used to do the final truing and cleaning of the channel. The binding on the guitar is rosewood and the purfling lines made of light and dark woods. The binding and purfling were matched for size to the original and installed.
Finally, the color matching and finish work. The color of this Koa darkened con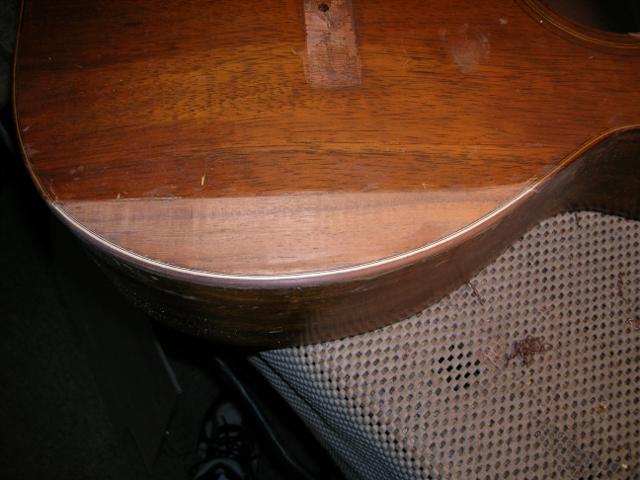 siderably with a light french polish application of orange shellac.
 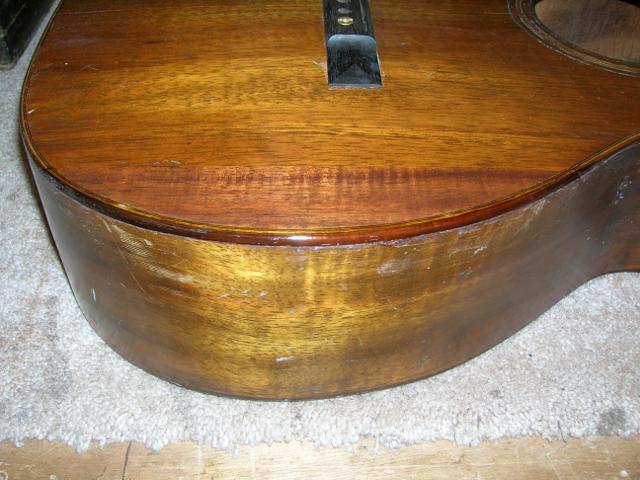 The shellac was used as a sanding sealer and for it's color. However, the shellac wasn't dark enough to color up the bright purfling lines. To match the color of the old purfling lines under the old finish I used lacquer colored with medium brown and amber tones, applied with a brush just along the purfling itself. The entire graft was then oversprayed with lacquer to build th
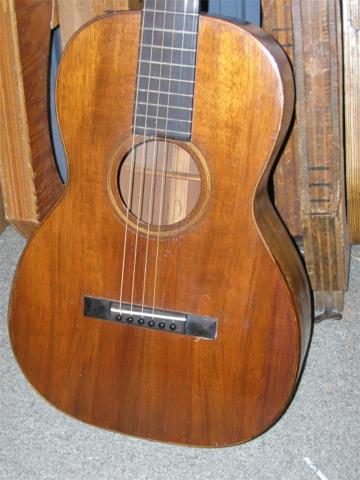 e finish up to proper thickness and surface fill. The finished result was a very good color match on both the koa and the purflings. While a repair like this will always be detectable on very close inspection the overall impression on casual inspection is very good.